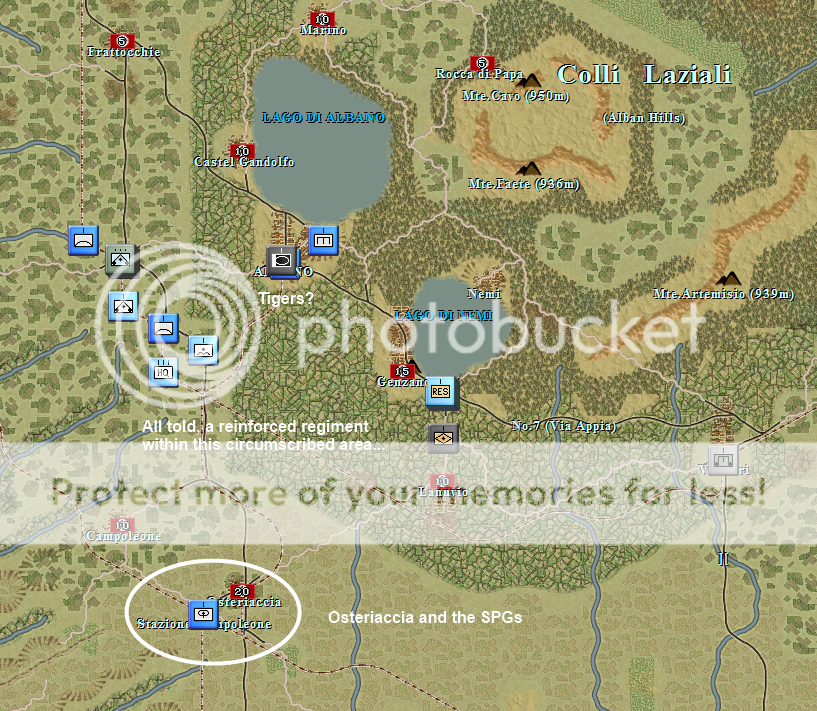
3.1.4 Theater Recon and Peak Hexes
Theater recon for both sides is set to zero during PM turns. On AM turns both sides’ theater recon is
set to 8, but the Germans (and certainly also the Allies if possible) can make use of the peak hexes in
the Colli Laziali which historically provided excellent observation points.
3.1.5 Force Pestilence
To reflect historical conditions on the battlefield and their consequences for men and material, like
trench foot and mechanical breakdown, force pestilence is set to 1% for each side, beginning on turn
18 (January 26th).
3.1.6 German Air Raids and Nettuno Airfield
During the first weeks of the Anzio campaign the Germans launched regular and partially devastating
air raids against the Allied navies and the shipping anchoring before Anzio harbor. The usual
procedure was to sneak in at dusk when Allied fighters were returning to their 100 mile distant bases
as they needed daylight to land. To counter these tactics Allied engineers began to renovate the old
Italian air strip at Nettuno which became operational on February 1st. It was US 307th Fighter Squadron
which had the doubtful honor to be based within enemy artillery range. Consequently the airfield had
to be abandoned later in the campaign due to constant shelling.
To represent this in the game the Germans have a 105% air shock while the Allies suffer an 95% air
shock on afternoon turns. There is no such bonus on storm/bad weather turns, including the long bad
weather period from turns 10 to 22. On turn 42 Nettuno airfield becomes operational, removing the
German air bonus permanently. In game terms an “airfield” unit will appear on turn 41 with some
construction engineers and 0/1 “airfields”. The “airfield” equipment is actually a modified aircraft
carrier (combat values zeroed) and can base one air unit. The equipment will be filled up on turn 42
after 7 “airfields” will have been dumped into the replacement pool the previous turn as otherwise it
would not have been possible to deploy the unit on a land hex. This setup also allows the Germans to
render the airfield unusable (when the unit is destroyed). Any Allied fighter unit can be placed on this
airfield; they have all been designated ‘naval aircraft’ with an equipment editor (BioEd) to be able to
actually be deployed there.
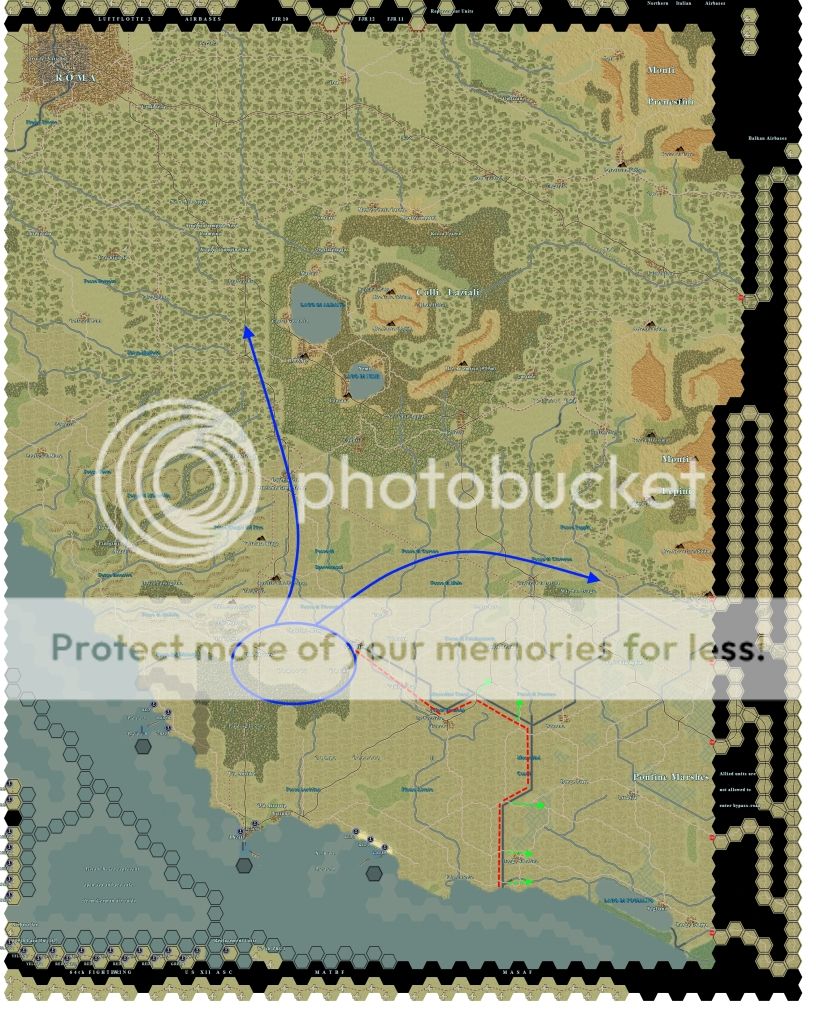
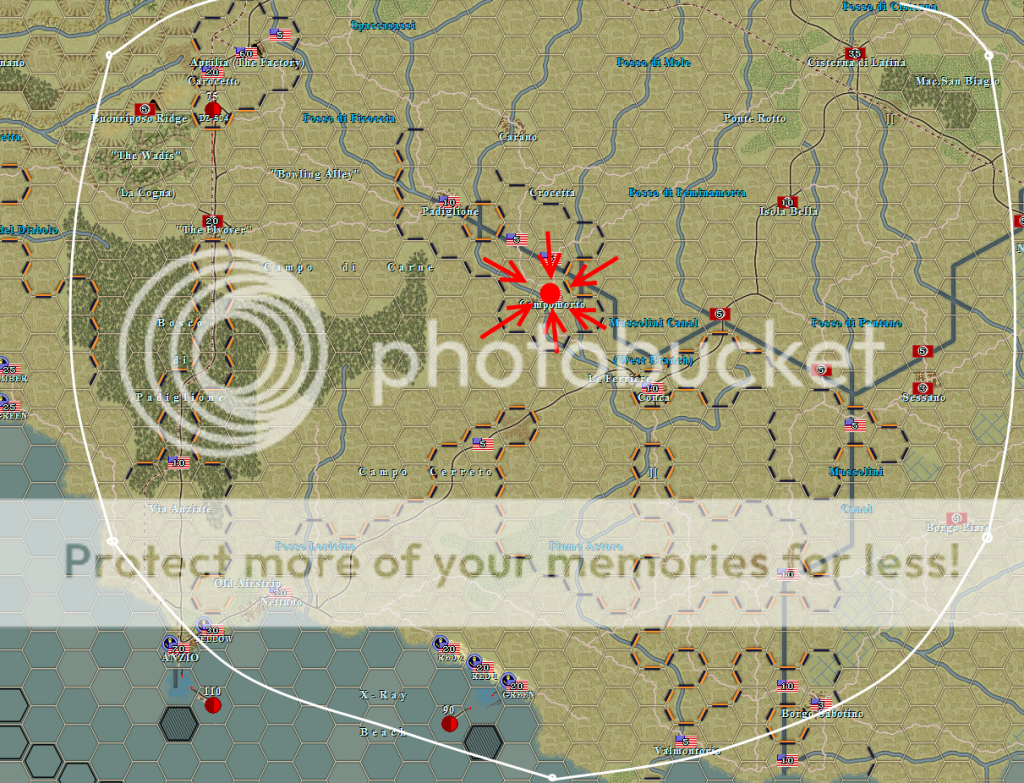
3.1.7 Valmontone – Littoria Bypass Road
To enable the Germans to shift troops between the southeastern wing of the front line (Littoria,
Pontine Marshes) and the other parts of the beachhead front an ‘off-map’ road has been added to the
eastern map edge with approximately 80 km length. Part of that road is in distant hexes and can’t be
interdicted or bombed directly by Allied aircraft. The Allied player is not allowed to enter or attack
into any hex of this bypass road.
3.1.8 Additional Replacements
Both sides receive additional replacements for specific ‘low rate’ equipment in the form of disband
units. The replacement units are categorized into infantry, AFVs, artillery and planes in the case of the
Germans. They arrive at a semi-random basis on hex 15/60 for the Allies and 30/0 for the Germans
and can be disbanded at the players’ will; there is no enforced rule about it. Only the German planes, of
which only few will be available, will be disbanded directly into the pool by the event engine.
3.1.9 Opening, Shock and Theater Options
With version 1.81 a new concept and new dynamics for the
opening turns have been introduced in regard to the initial
Allied advance in-game compared to the historical Allied
performance and defensive agenda in the early phase of
Shingle. One can basically speak of two different ‘openings’,
resulting in two different courses the scenario can, but must
not, take:
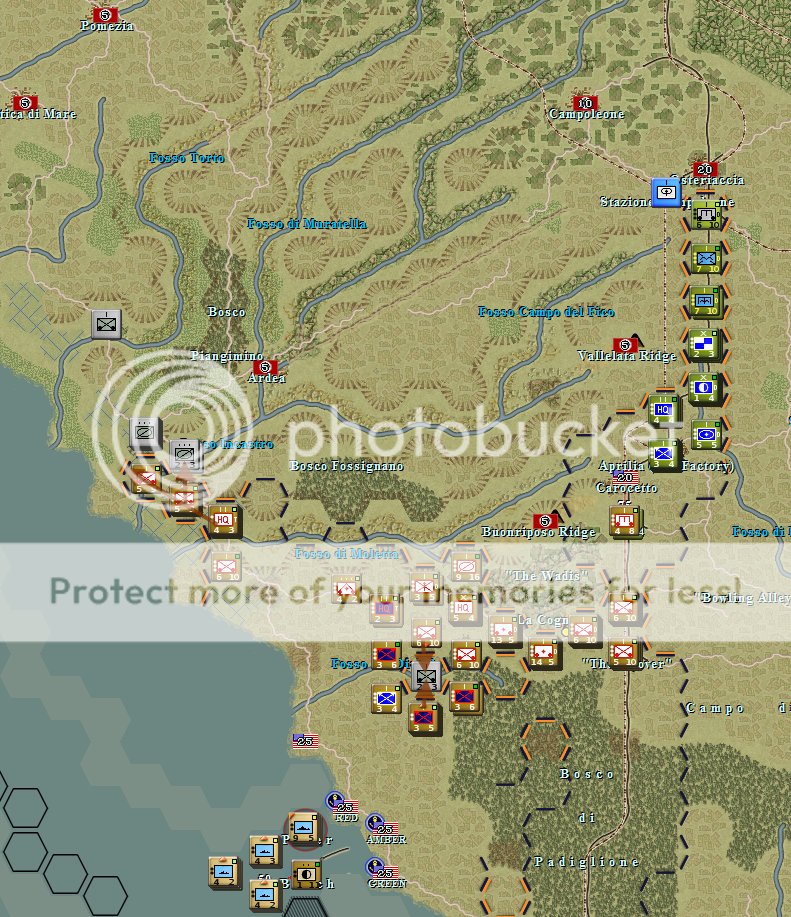
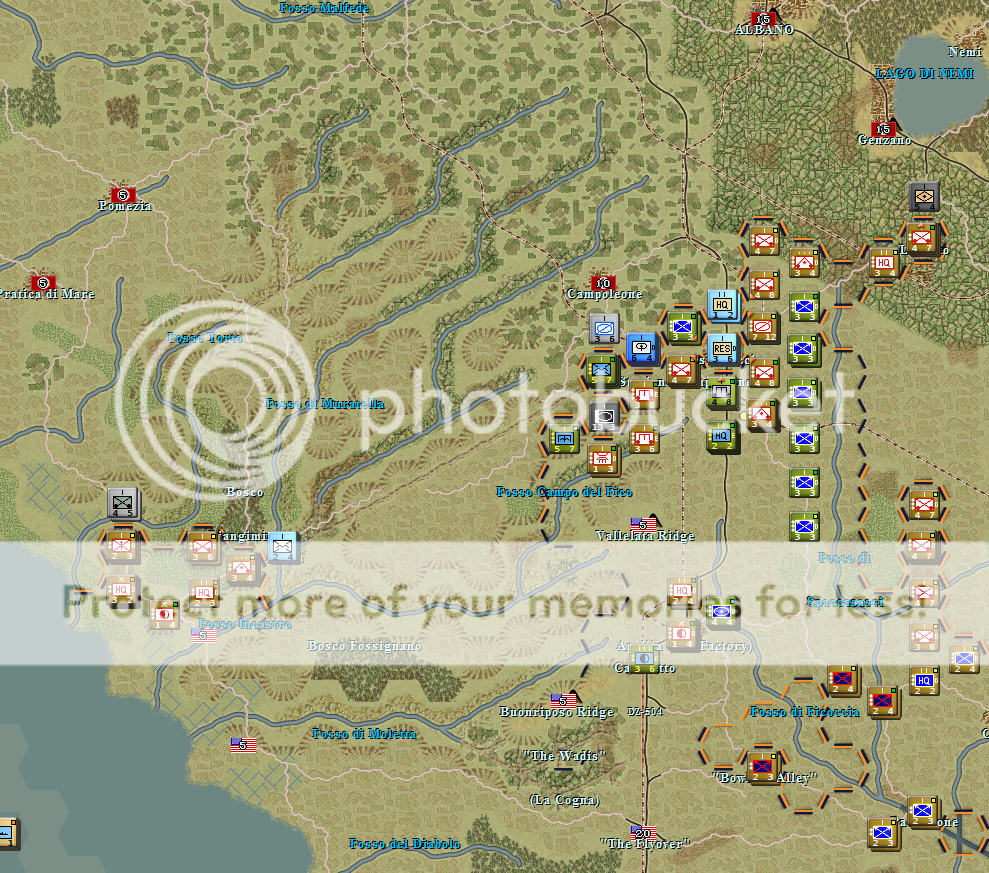
The ‘pattonesque’ opening sees the 504th Parachute RCT land
near Aprilia and will most probably be followed by an all out
Allied attack (see section → 4.1.1 Airborne Operations for
details about this theater option). This still costs 100 victory
points.
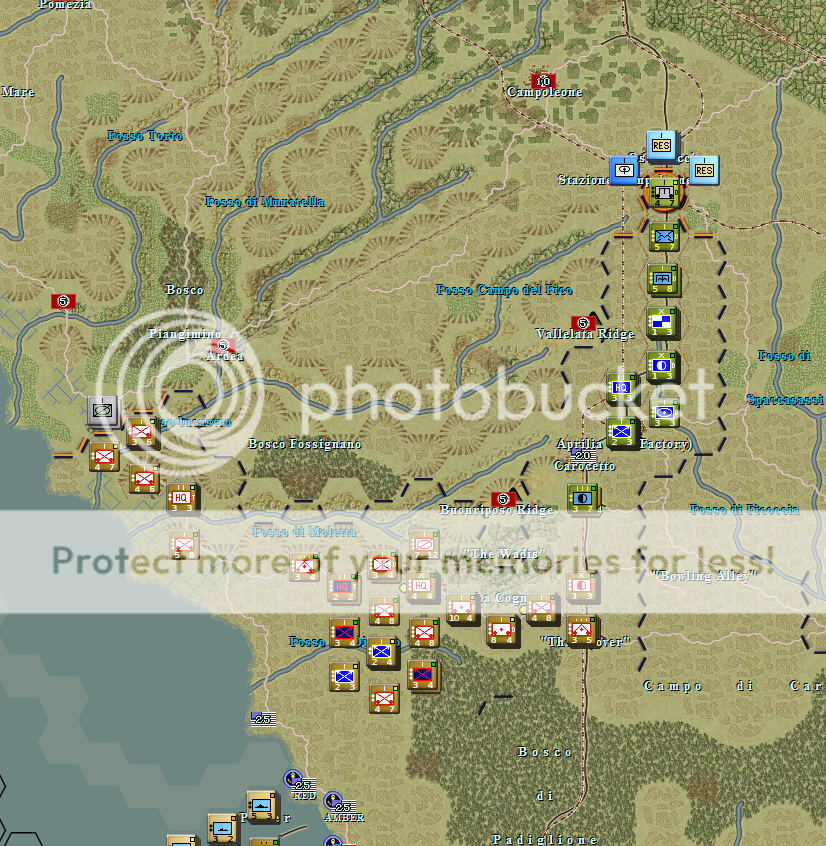
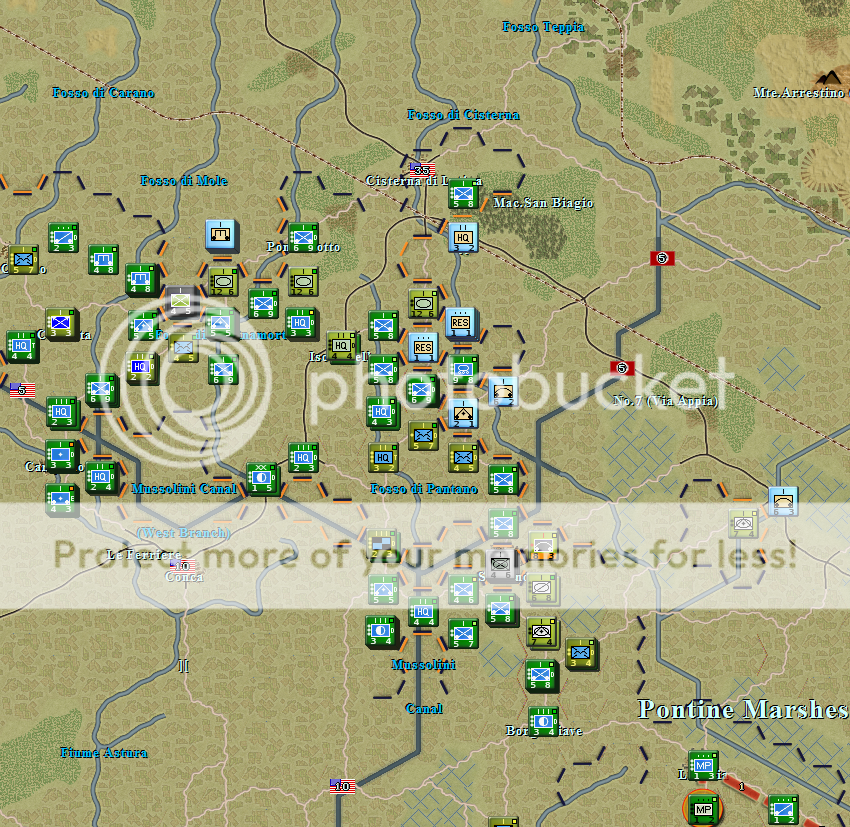
The second one, introduced in version 1.81, could be called
‘the historical opening’. It is designed for a possible limited
Allied advance, but however must not necessarily lead to
such a limitation. When the Allied player opts for bringing in the 504th Parachute RCT by sea on turn
6, a set of shock events and related theater options will come into effect which are designed to force the
Allied player to resemble the historical cautiousness of the Allied advance until the first major
offensive actions took place towards the end of January. Allied shock will fall to 90% on turn 3, rise to
95% on turn 13 and will be restored to 100% on turn 25 – if the Allied (or the German player) doesn’t
influence these events by selecting one of the related theater options: On turn 2 the Allied player has
the chance to remove the 80% shock at a cost of 45 victory points. This will also cancel the later 90%
shock and all related theater options. The option is only available on turn 2. If the Allied player
removes the shock, the German player will receive a theater option on turn 3 to restore the Allied
shock to 90% at a cost of 40 victory points which will further re-enable the later 95% shock event and
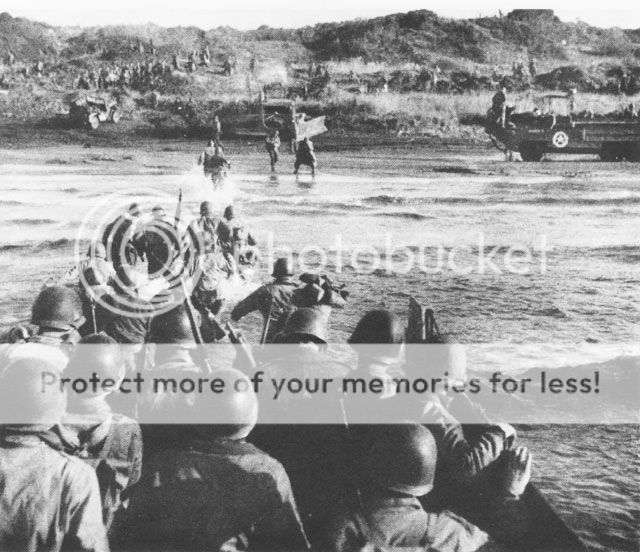
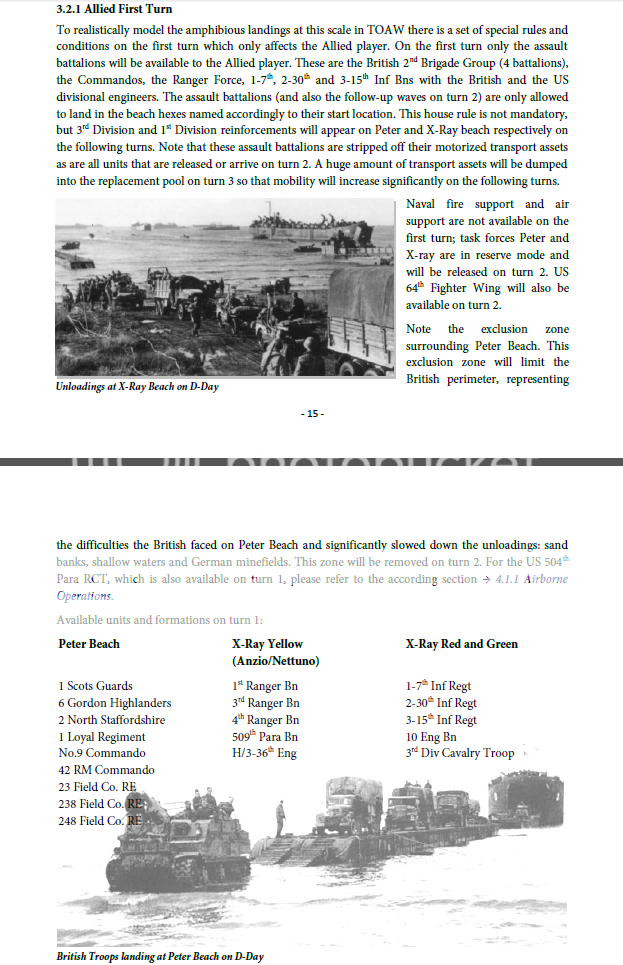
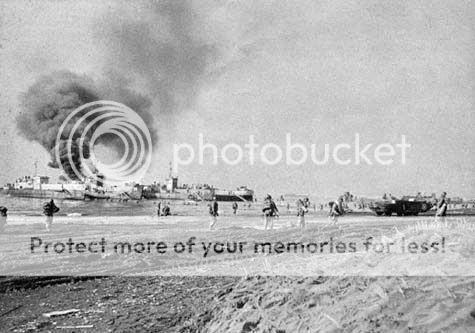
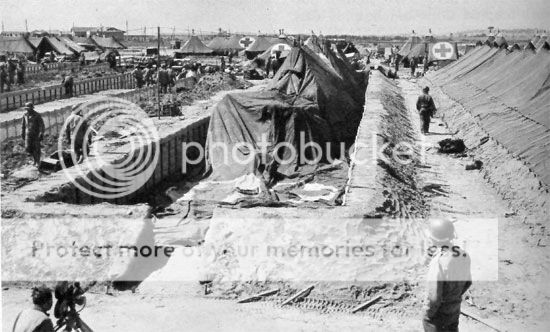
Unloadings at X-Ray Beach on D-Day
related theater options. Like the Allied theater option, the German theater option is only available for
one turn. The same game starts again on turn 12 when the Allied player will have the option to prevent
the following 95% shock at a cost of 25 victory points while the German player will have the option to
restore the 95% shock on the next turn with a 20 victory point penalty. Both options are again available
for only one turn (turn 12 for the Allied player and turn 13 for the German player).
Certainly the players can agree upon the course of the action regarding the shock events before they
start the game, but they also could leave it open. They should consider that the shock event setup will
help a weak German player against a more skilled opponent.
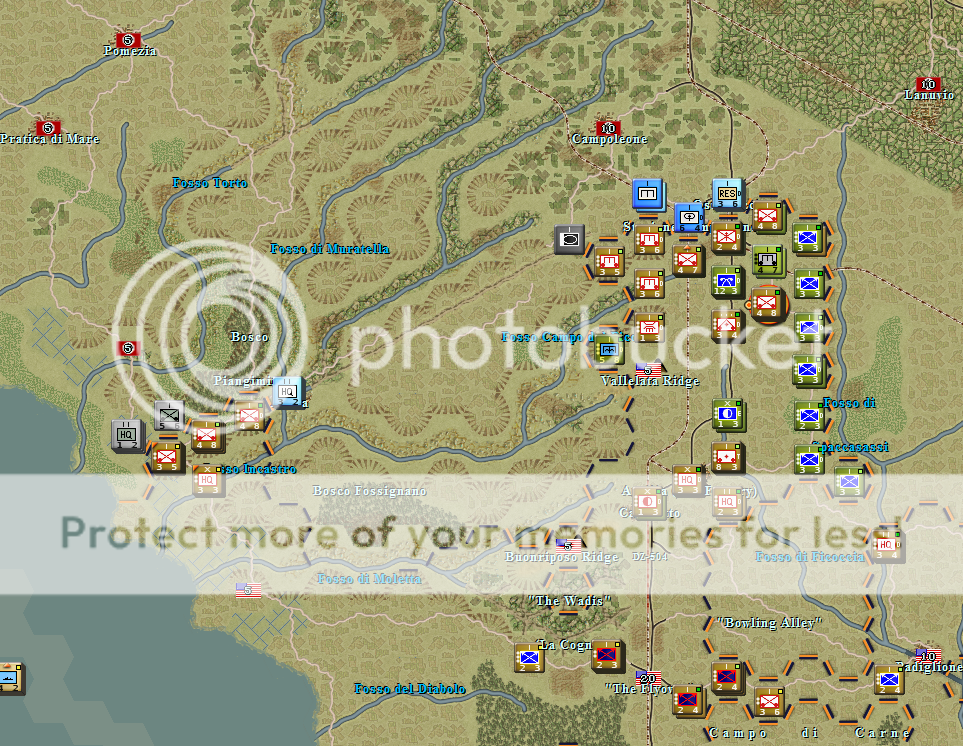
As mentionend further above, this has been designed to force the Allied player to be more cautious in
his early actions, similar to the historical course of events. Note that shock not only affects combat
effectiveness of units, but can also force formations to go into reorganization, making them immobile
and unavailable for player orders, which could leave some units in quite vulnerable positions to
German counterattacks. Also note that the German player, if all four TOs are selected, gets out of this
with 10 VPs ahead.
In each case the Allied player will have to pay in victory points if he wants to use the initial German
weakness in the opening turns to conduct offensive actions that go beyond the scope of those
historically performed by VI Corps during the early days of Shingle.


 Reply With Quote
 ) is Option 1, of which Directive 21 has been selected because it is a solo scenario designed to be played against the Computer.


 the Org?
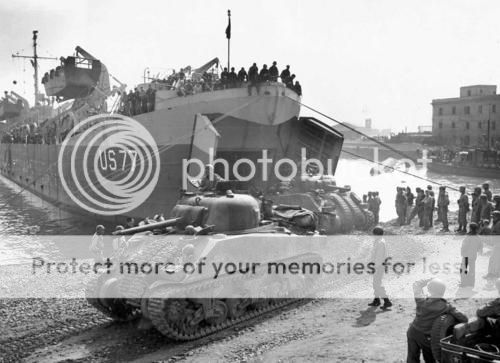


Bookmarks