
Originally Posted by
GeneralHankerchief
Feedback to Peter
You are Péter von Kastilien, son of Günther, brother of Ansehelm, Siegfried, and Fritz, Holy Roman Emperor. All your life, you have fought for what you believed was right. Sure, some of these opinions were in contrast with the majority’s belief, such as your arguments against Outremer when the land was in its heyday, or in conflict with each other at points, but you always did the best you could. More importantly, you never abandoned your main priorities: The advancement of your family, your House, and your Reich.
You watched as the country around you grew and shrank; all the while you were fighting to keep it great, against the Russians, Poles, Hungarians, and whoever else was stupid enough to invade Imperial territory. You wish it could always have been that simple. Unfortunately, it wasn’t.
The tragedy and the complexity probably began when your brother Siegfried became Kaiser through a freak accident. Everything that man ever did was controversial and contested, beginning with his very ascension to the throne. You supported him, as a good Franconian and loving brother would naturally do. Unfortunately, Siegfried did not reciprocate, as he became infatuated with the Byzantines in general and Theodora specifically.
He proposed a hare-brained reunification plan that most of the Diet, you included, saw could be catastrophic. Ansehelm and Fritz, your two older siblings, agreed with the majority opinion and did your very best to convince Siegfried to listen to reason. Instead he banned you and made Fritz apologize before he let the man back in. As reunification plans went on and the overall outcome became more and more clear, you and several people realized that they had to take things into your own hands. Deciding that a blunt, direct approach was always effective, you took a large army and drove right for Constantinople. You failed, but Tancred von Tyrolia succeeded. Reunification, however, still dragged on. And then Siegfried died, killed by the Illuminati.
You now had a new passion in life. For whatever Siegfried had done wrong, he did not deserve to die for it. You were certain that your brothers stood with you on this. Fritz did, as did Ansehelm, at least for a little while before he perished. And so, you began your slow rise to power, again killing the foreign enemies and helping restructure the Reich, but never taking that main goal out of your mind. Neither did Fritz.
It all came to a head after the new evidence surfaced that Lothar, in fact, did order Siegfried to die. Finally, you had an excuse to act. Finally, there was general outrage. You and Fritz, by this time Chancellor and pretty much second-in-command to you, despite Dieter von Kassel’s official title, declared Lothar and the rest of the Illuminati outlaws. The time had come to strike.
Instead, the Illuminati turned it all around, blaming you and Fritz for causing tyranny, blasting Fritz’s over-the-top antics as proof, declaring that the Kaisership over and proclaiming the Reich a Republic. Amazingly, it worked, with most of the defectors citing Fritz’s menacing demeanor as the chief reason why they did what they did. Still, you never told him to cool it down, to watch what he was saying. Instead, you were encouraged by his behavior and also ramped up yours. Fritz, of course, took it in stride.
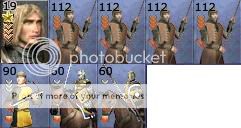
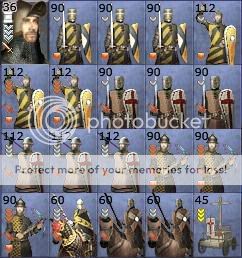
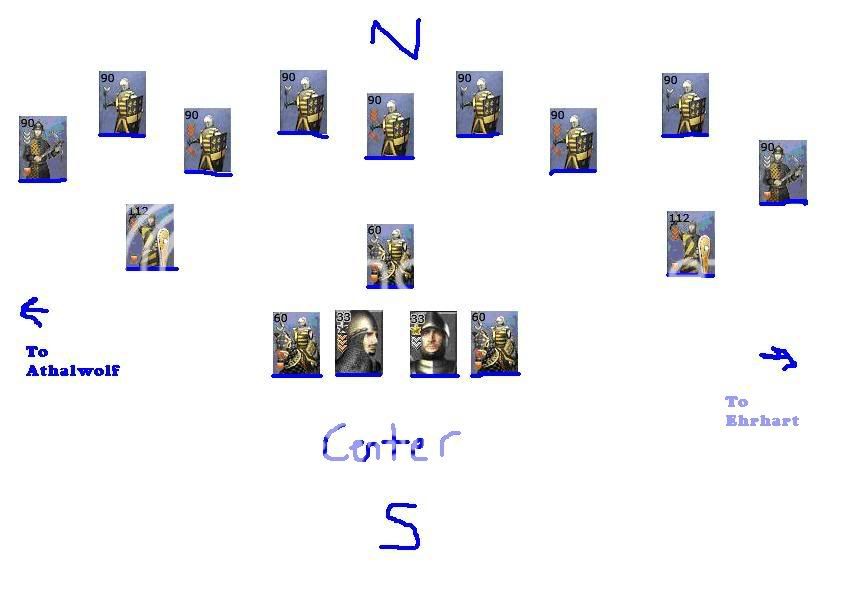
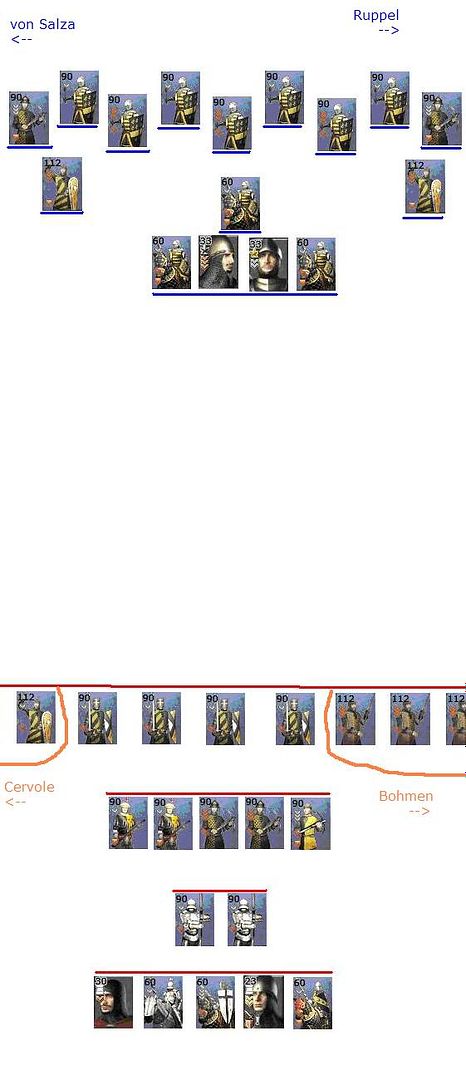
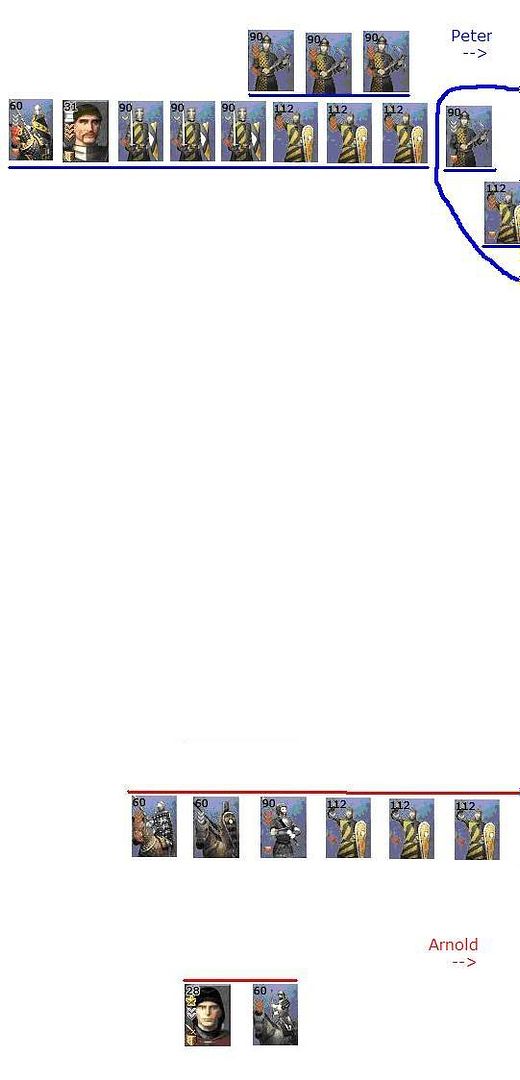
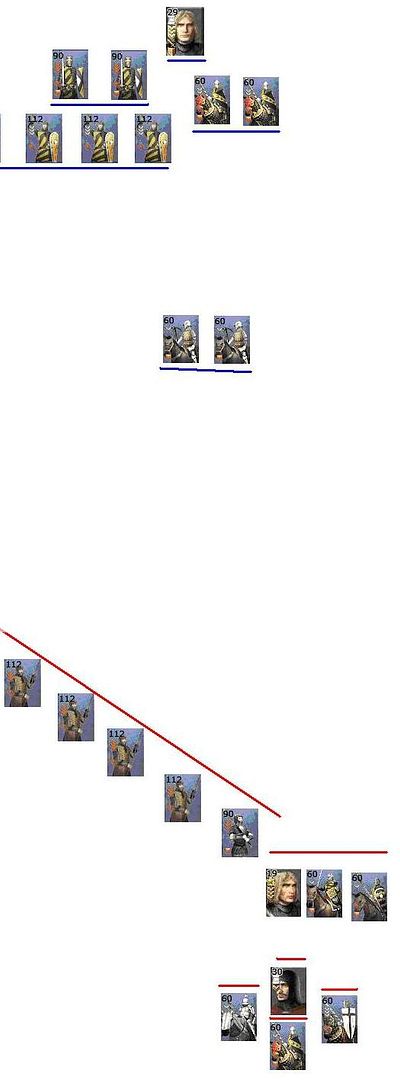
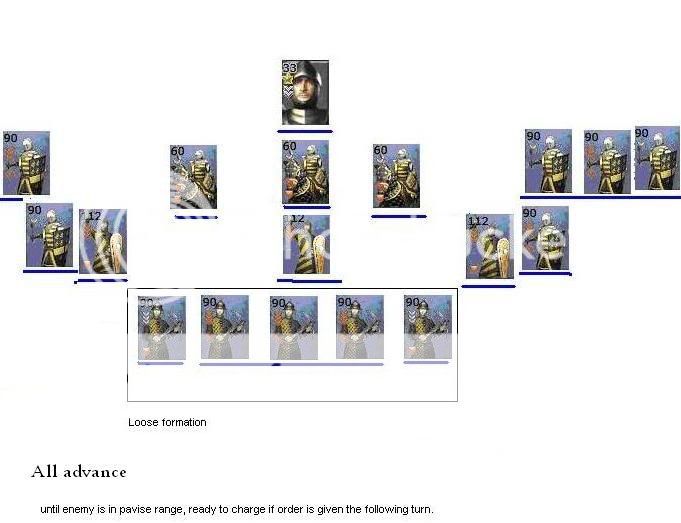
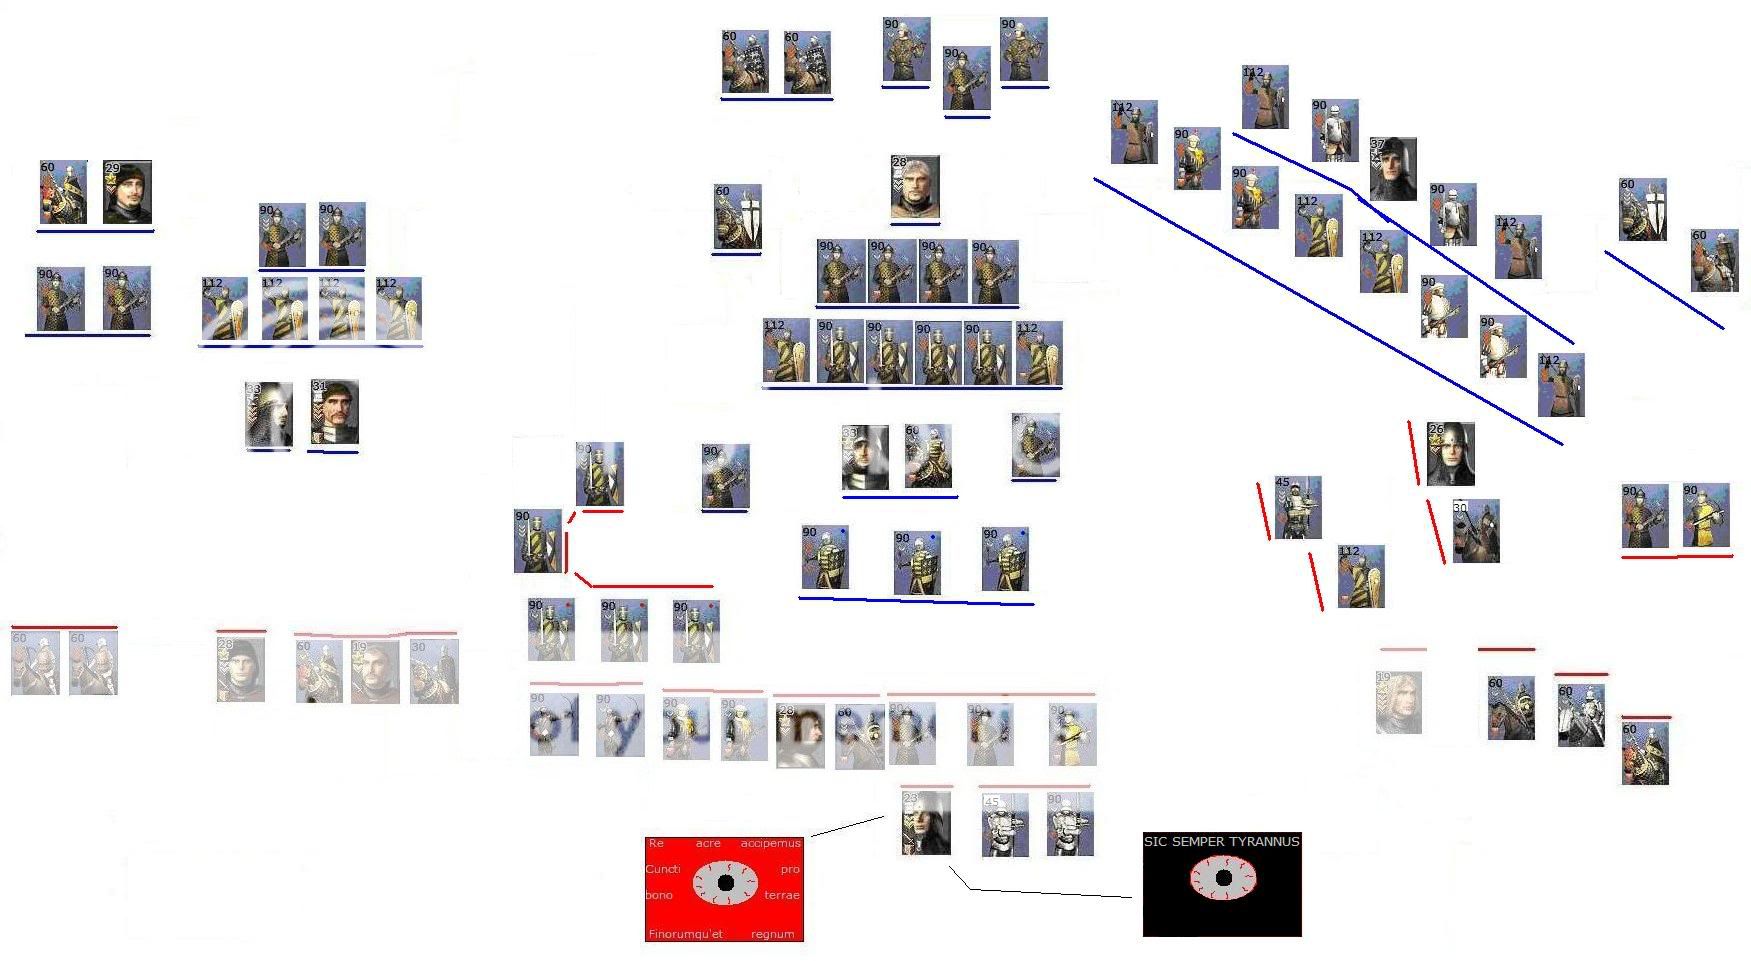
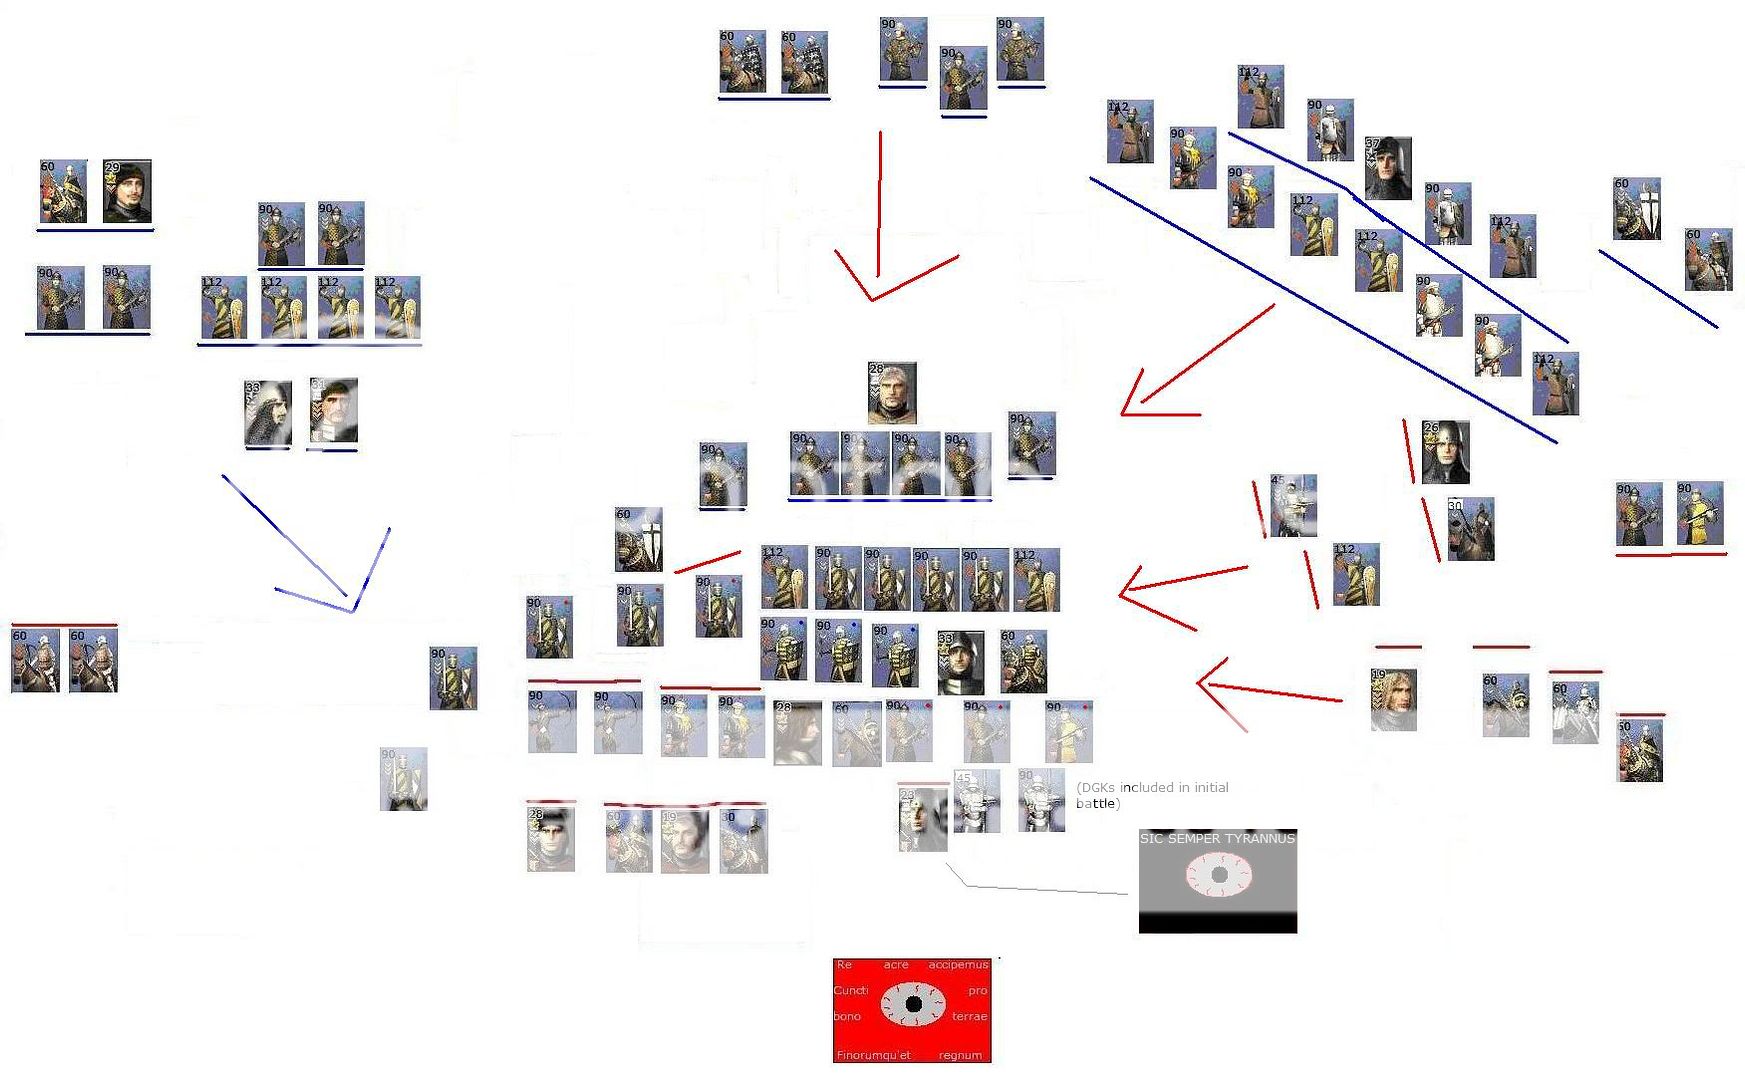
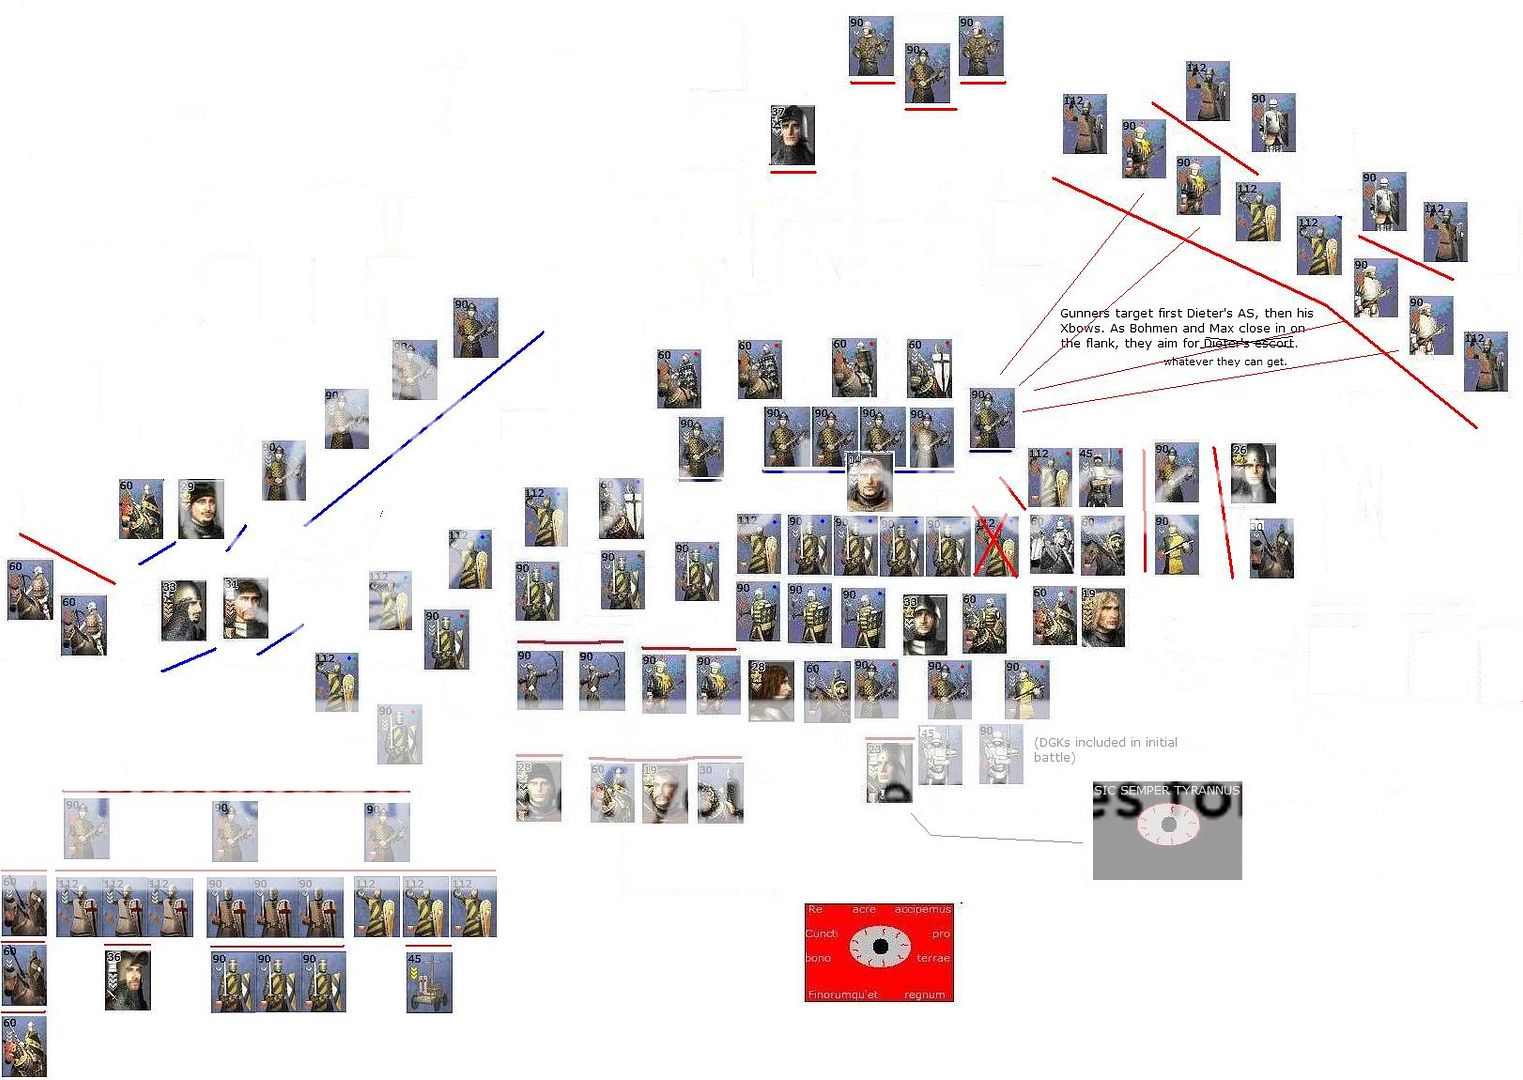
You found yourself at Trent, finally ready to shape the Reich according to your beliefs, finally ready to rid the world of the evil Illuminati, after all these years. But not all went well. During the first critical moment, with the red flag waving, Max Zirn switched sides and annihilated Ehrhart Ruppel’s flank. You were surprised at this, for treachery was always in the back of your mind, but not too concerned. After all, Fritz, your brother, your last brother alive, your comrade until the end, was up and in a good position to correct the mistake. He would take up the flank and prevent the east from closing in.
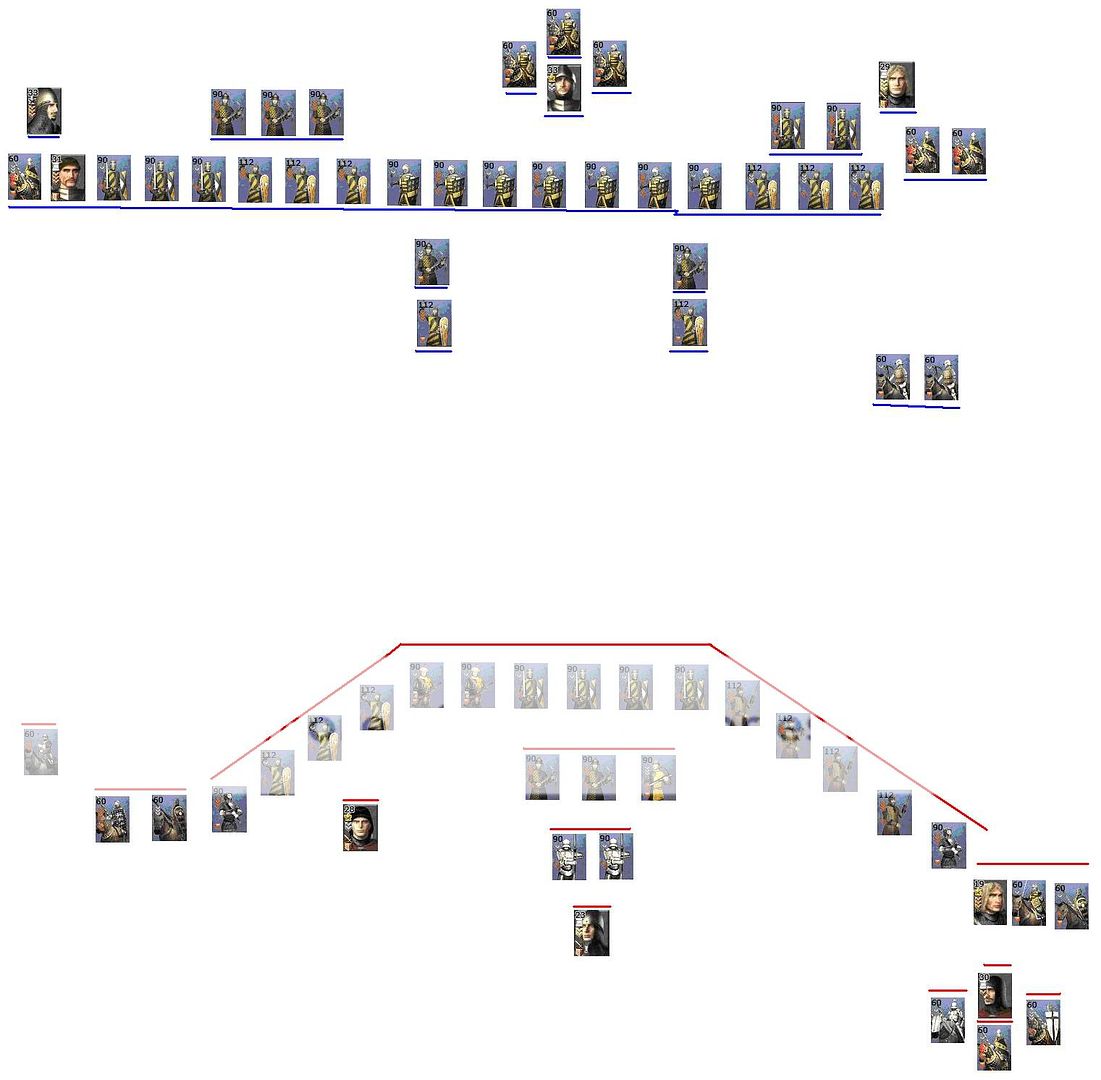
With that in mind, you ordered an all-out charge for the center. It would be the glorious charge you had always hoped for, somehow righting the world. But it was different. Your horsemen were depleted, having participated in two other charges and undergoing heavy missile fire, and Tancred was off commanding in the west. Still you charged, running through Arnold’s crossbowmen whose only objective seemed to be to stand in your way. Still you charged, despite Arnold activating his dismounted Gothic Knights. Still you charged, killing quite a few of the armored terrors, because you knew that righteousness was on your side. Of course you would break through.
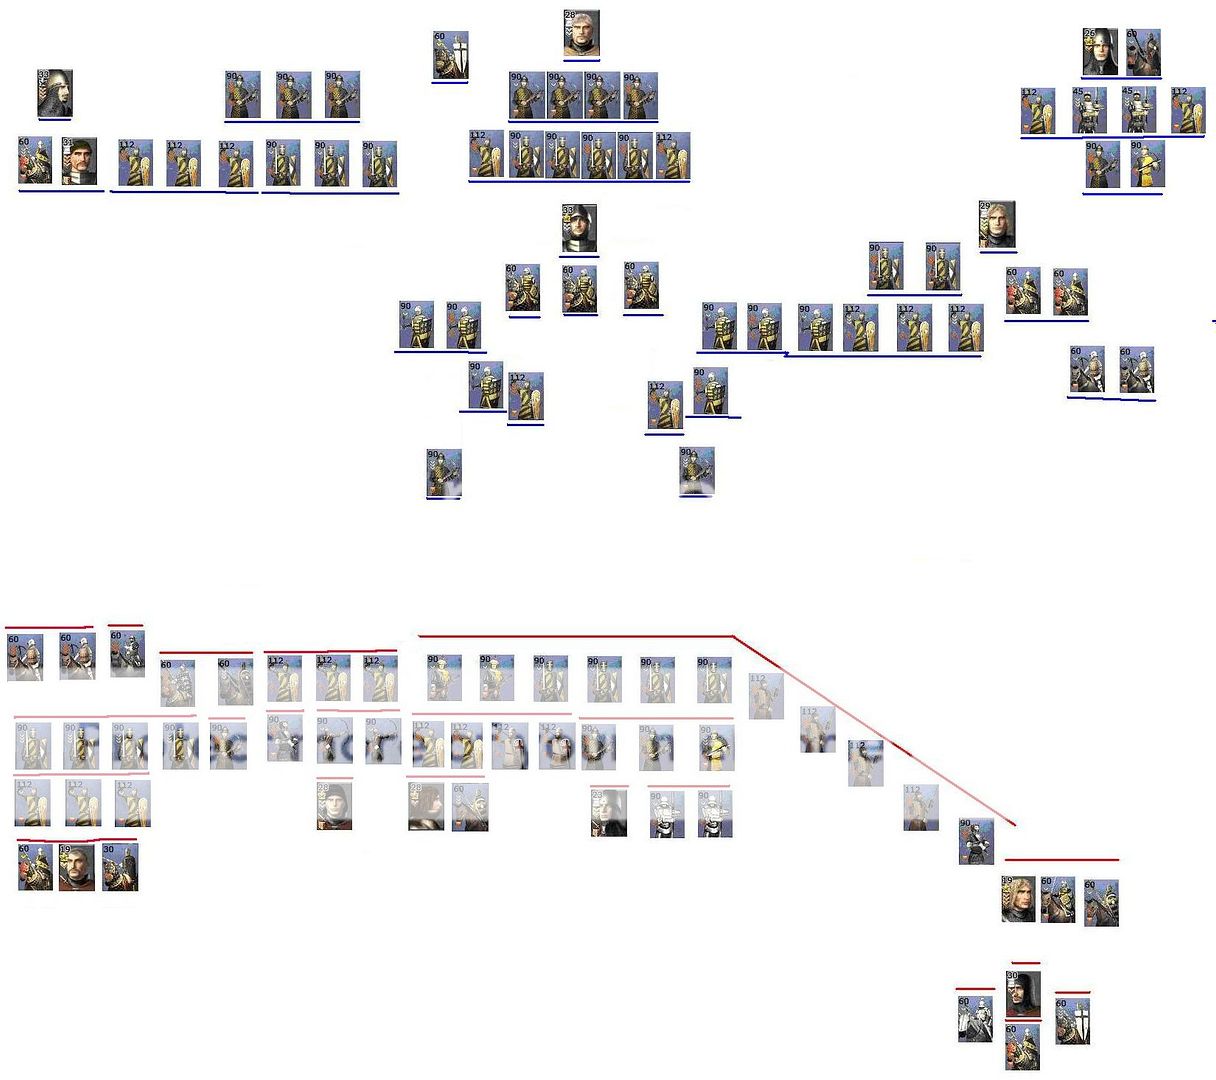
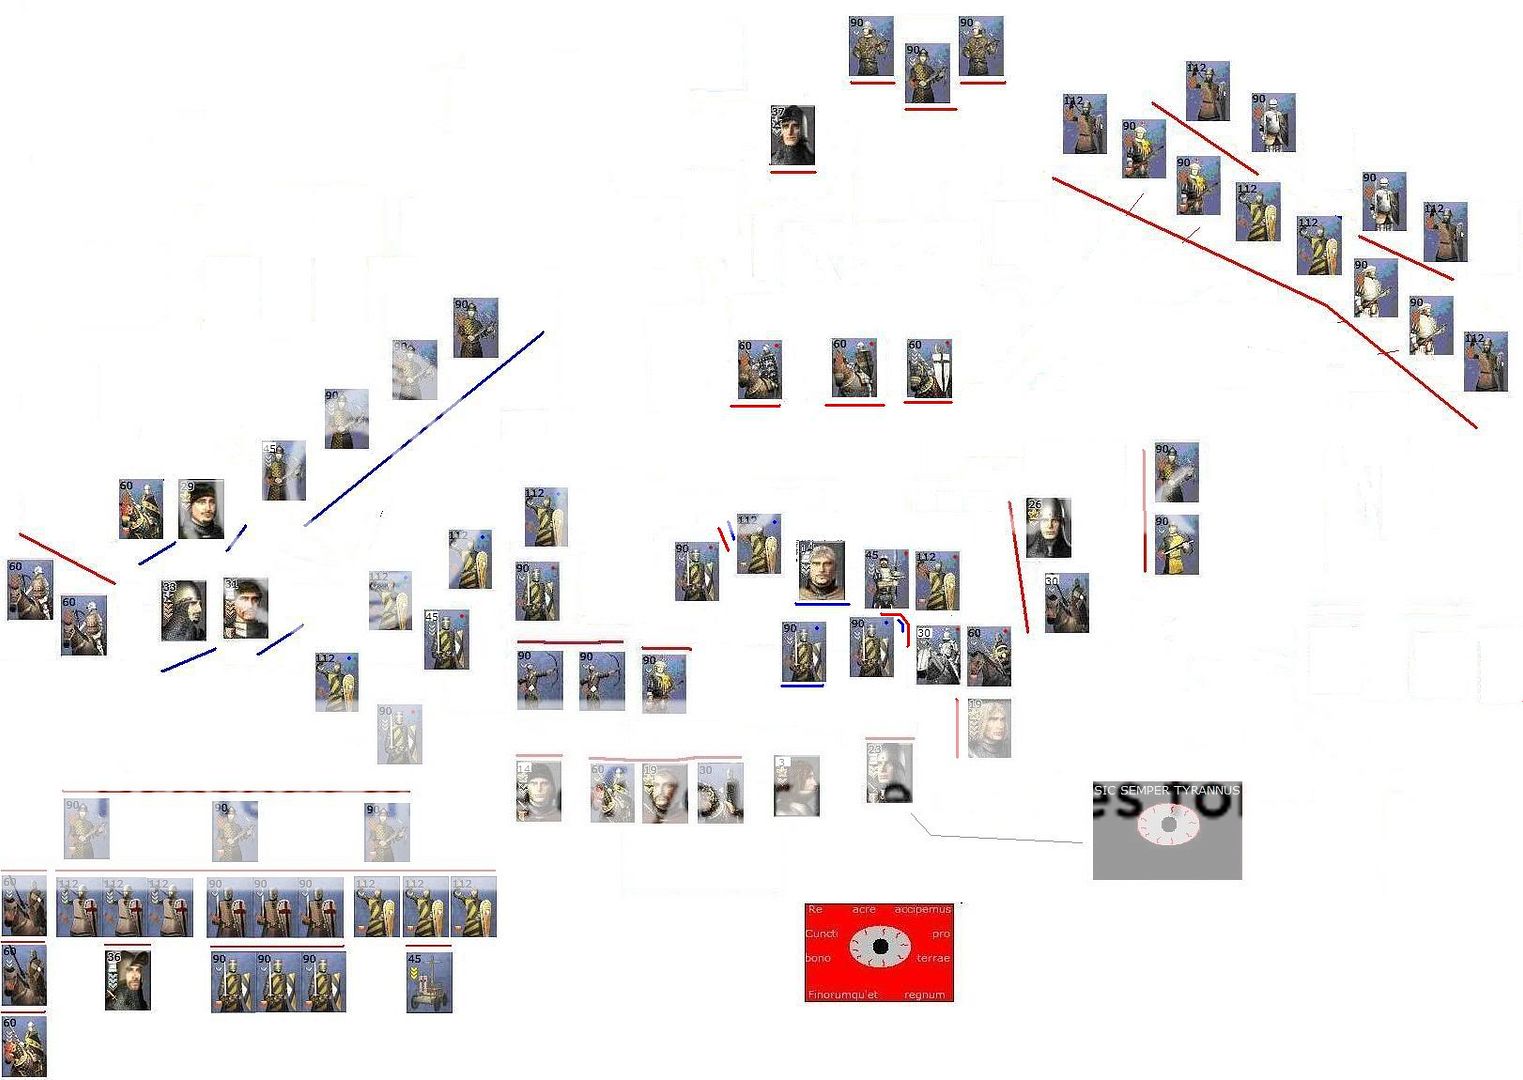
But what you didn’t notice is that you were the only spot where you were breaking through. To the immediate west, Jan Zirn and his horsemen were giving the same treatment to your remaining Dismounted Imperial Knights, shattering them without any thought to the cost. To the north, Dieter Bresch was closing in around you. Not betraying you, as you suspected, for the black flag was up, but trying to get a shot in at Arnold. And to the east, Ludwig von Bohmen and Max Zirn were closing in, unchecked, ready to roll over your flank.
You had put everything into the frontal attack, trusting that the flank would be safe. And it wasn’t, for here the Republicans came, the crossbowmen and Gothic Knights just holding on long enough for help to come. And then you looked north while setting up for another charge, with the handful of men left, and you realized why in an instant.
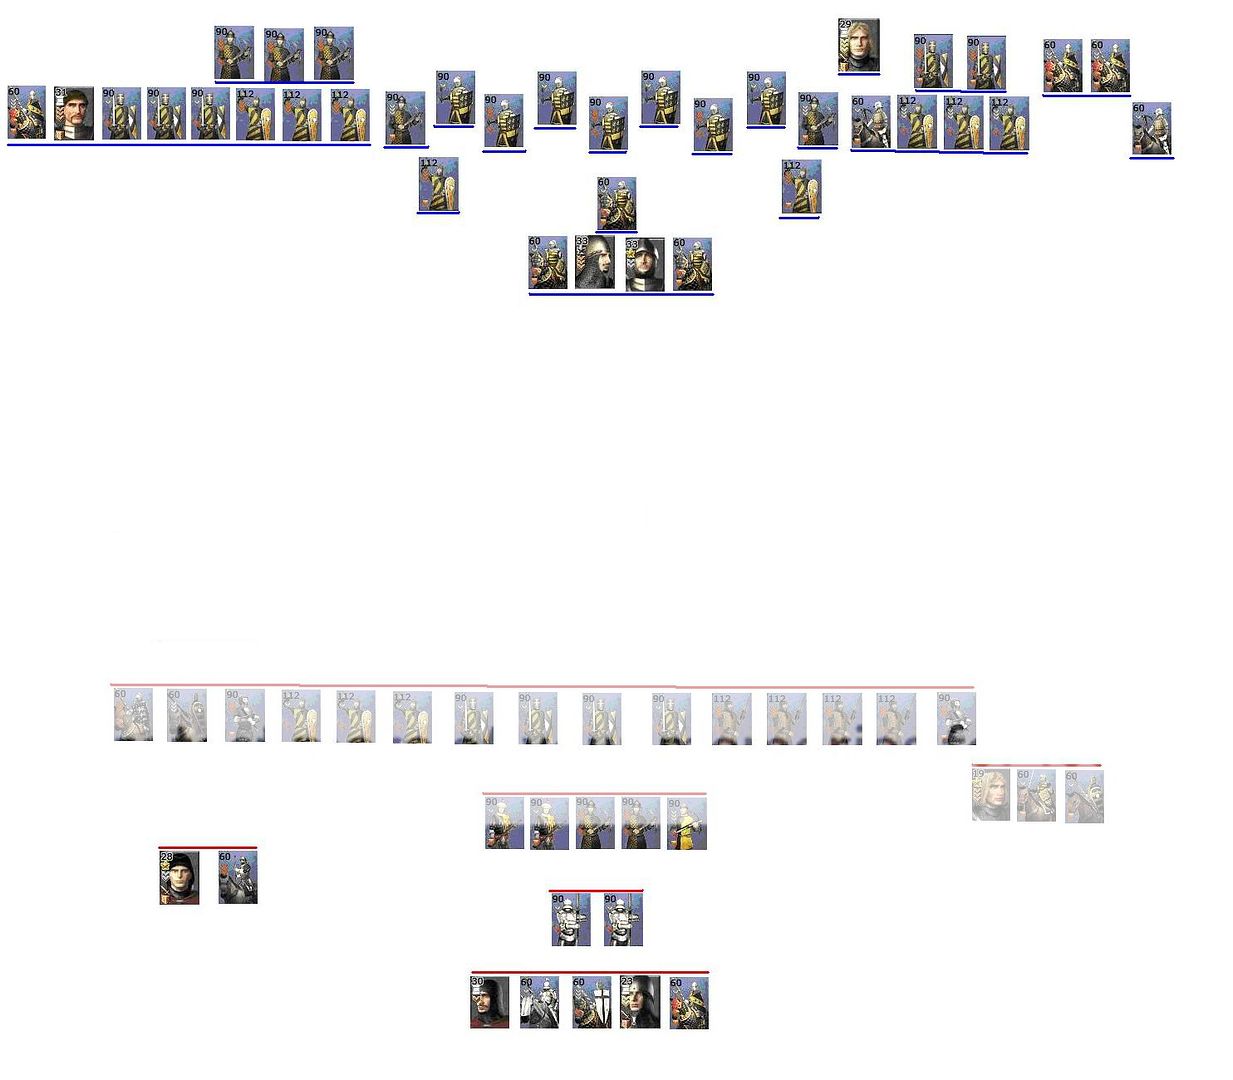
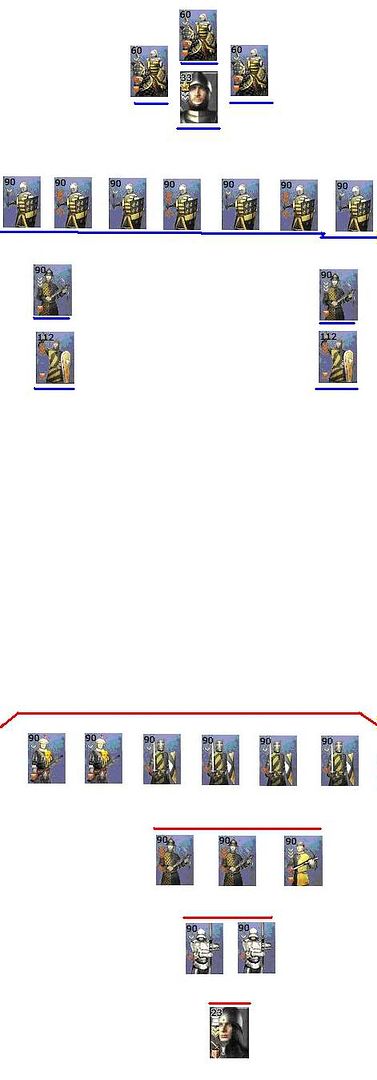
You saw Fritz’s cavalry charging at Dieter’s unsuspecting crossbowmen, killing them. You saw Fritz’s gunners getting their last shots in at Dieter’s infantry before the flank closed up. You saw Fritz’s infantry simply standing there, doing nothing as the flank closed around them.
In an instant, you realized it all. Everything. The black flag. It was all a setup, everything. Fritz had always been one of them, playing an elaborate deception game all of these years. He had dawdled getting to the battlefield, maybe not so much as to hire as many mercenaries as he could, but maybe to ensure that he was in the rear and hitting you the hardest.
How long? How long had the Illuminati been plotting this? Since Lothar revealed himself as a Brother? Since Fritz became Chancellor? Since you became Kaiser? Did they rig the Chancellor election to make it look like an Illuminati loss? Were they the ones who had brought the prisoner the new information? Was Fritz involved in the Siegfried assassination plot? Was he the one that proposed it?
In the end, it didn’t matter how they did it, only that they did do it. You realized that you had lost the war just by fighting it in the first place.
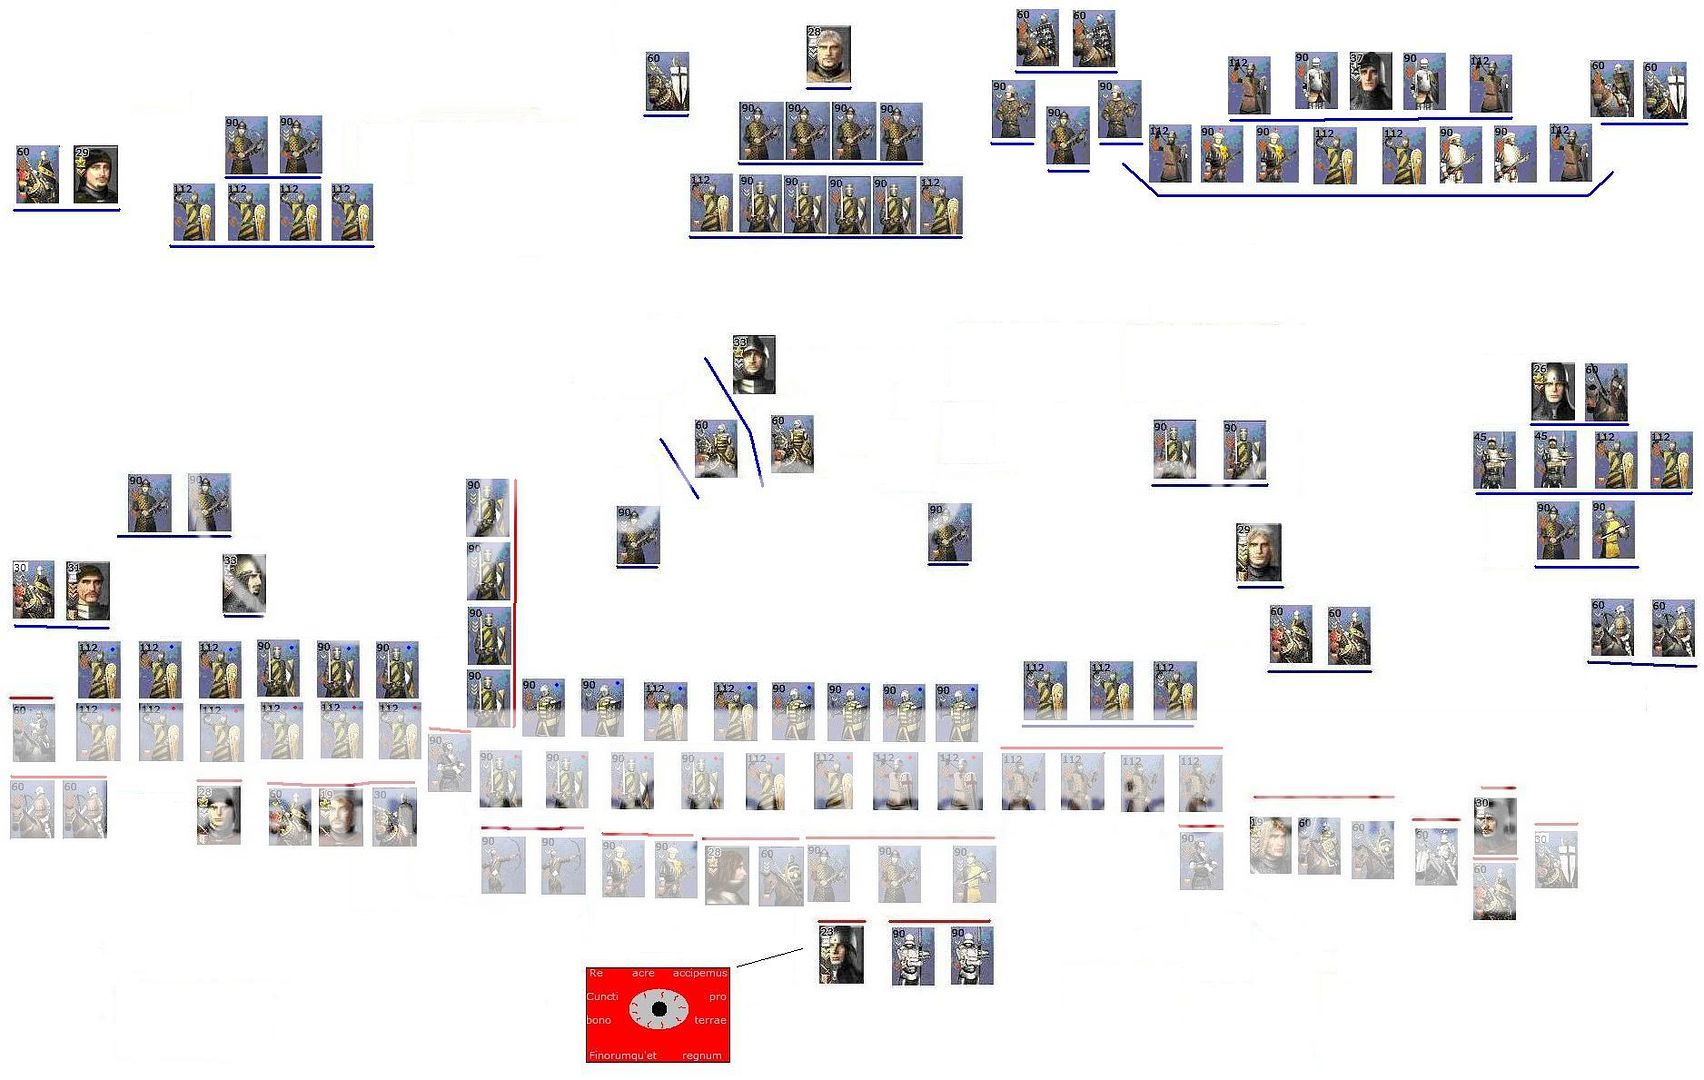
As the rest of the horsemen go down around you, you realize it’s just you left. You try to get out, but cannot. Dieter Bresch’s men are all around you, pressed by Max, Ludwig, and of course, Fritz, closing in. You have nowhere left to go.
In the distance, you see a new body of cavalry coming in, charging right for you. Their lances are drawn, ready to destroy what was left of the breakthrough. As the charge draws closer, you see that it is led by a figure, armored in black obsidian as well as the usual metal. The Grand Master has come to finish the job.
You wait for the inevitable lance blow to come, to finish the Illuminati’s plan. For while Arnold is about to end your physical life, it’s already over. Fritz von Kastilien has killed you.


 Reply With Quote


 ).
).


Bookmarks