Hello all. The release of the Empire Total War demo last Friday featuring the Battle of Brandywine peaked my interest since the battlefield is just a few miles away from where I live - in fact, I learned that it was much closer to home than I realized. So on Wednesday morning I grabbed my camera and headed off to photograph what I could and give my fellow Orgahs a little more feel for the terrain. This is made a little difficult as the battlefield has not been preserved. Housing developments and new schools sit cover parts of the field. The few historical markers are easily overlooked by the hundreds of cars that pass them everyday.
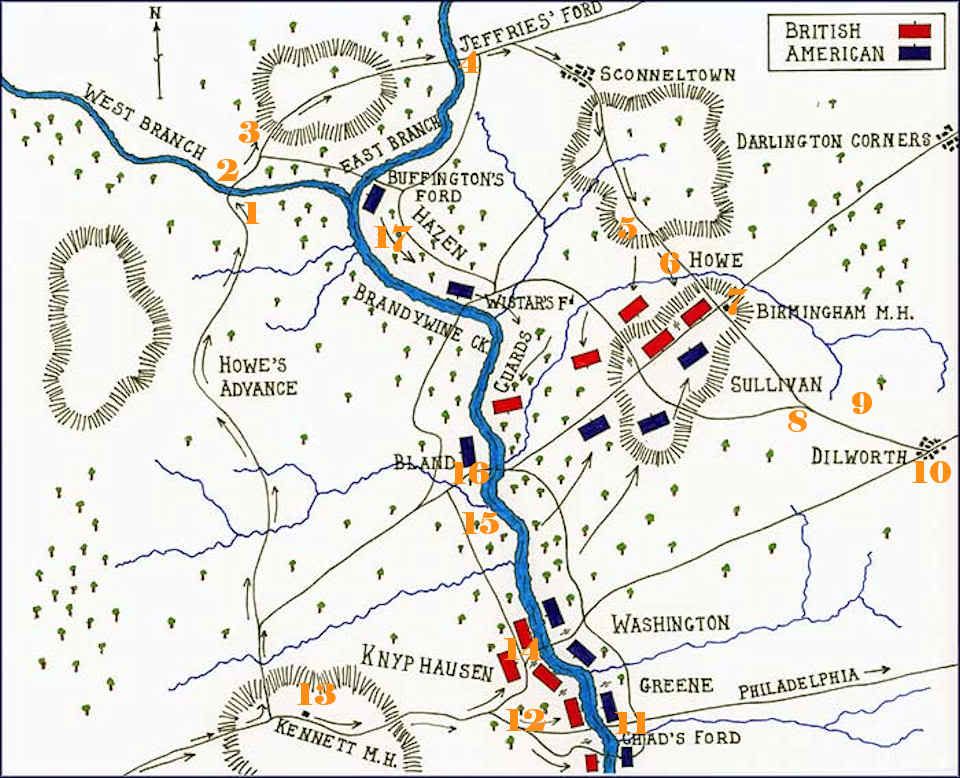
To assist visually with this guide I present a modified map I got from www.BritishBattles.com. On this map I've added orange number to indicate the location of the various stops I made. One thing that surprised me about the map (that probably shouldn't have) is that the roads are still there and most are major, numbered routes.
I'll make a few observations concerning the ETW demo and the actual battlefield along the way. Each section is hidden to restrict the picture loading until the reader is ready.
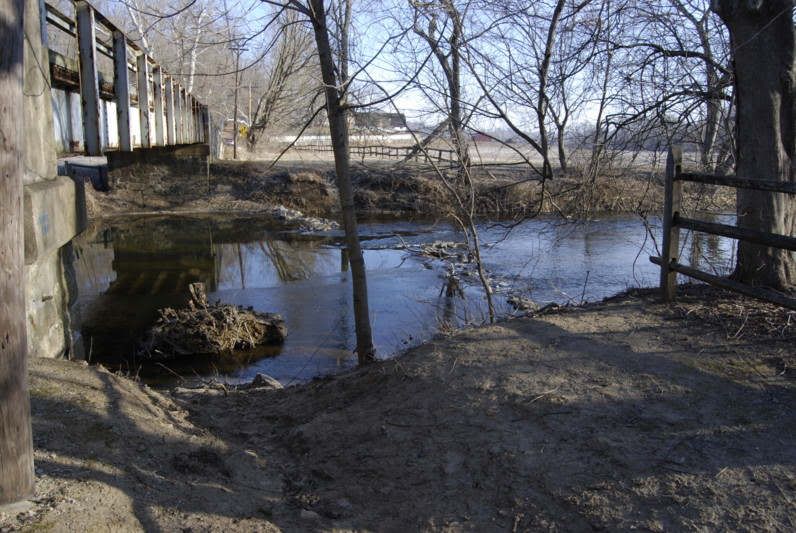
Location 1: Trimble's Ford
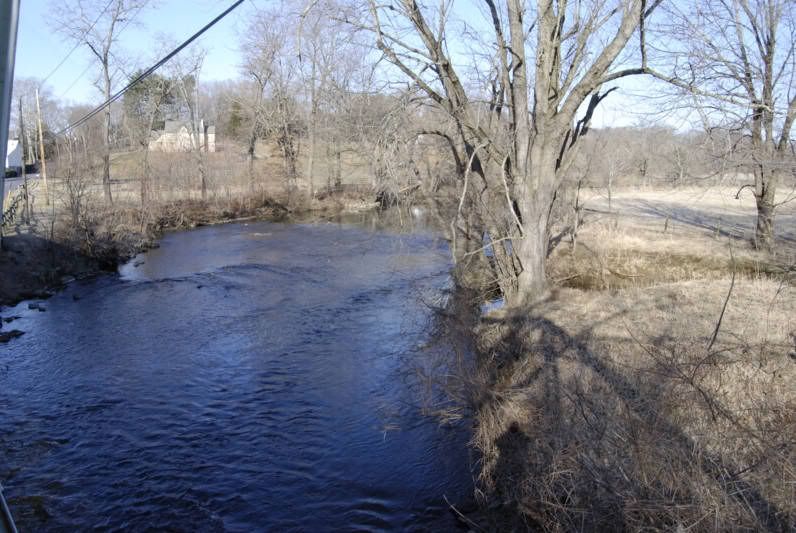
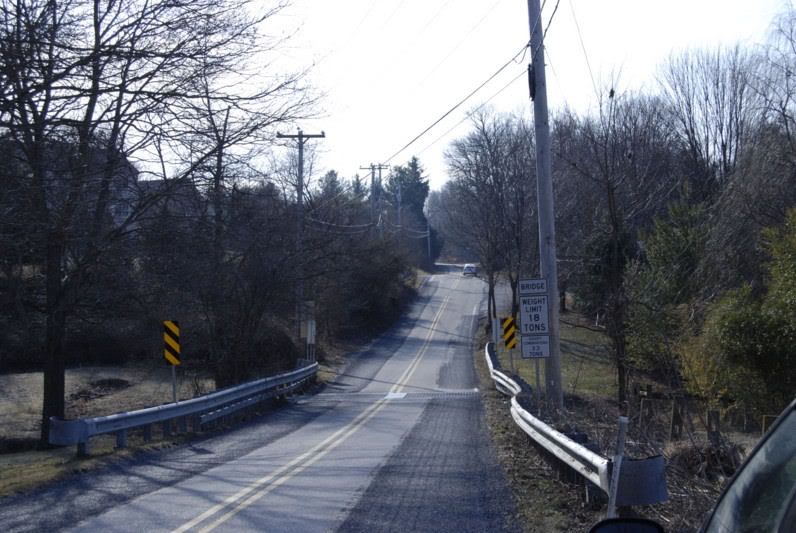
Contrary to the ETW demo, the British under Howe did not cross the Brandywine River, but rather crossed both east and west branches of the Brandywine Creek further to the north. The two branches join at the edge of the demo map just north of the secondary ford. The British crossed the west branch at Trimble's Ford. Today a one lane wood and steel bridge crosses the creek here.
A view from under the bridge, looking downstream. The creek doesn't look like a very imposing obstacle, ford or no ford.
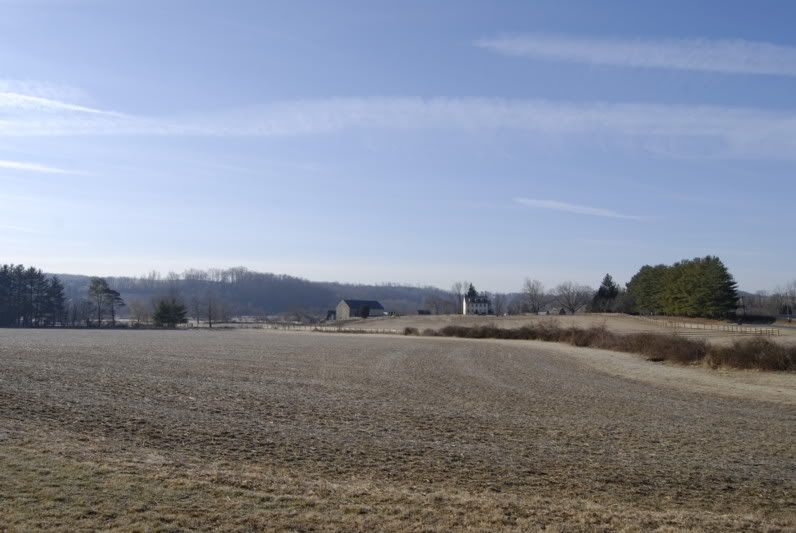
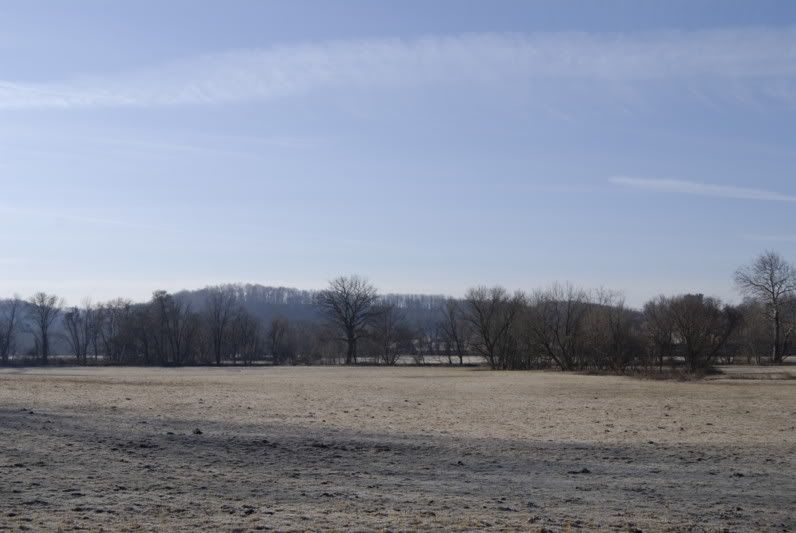
Location 2: Between the Forks of the Brandywine
Flats near the creeks with rolling hills defining a valley. Horse farms are a big thing around here. In this first shot, we are looking south, back towards Trimble's Ford at the base of the hills. The British marched along the road on the right (lined with the evergreen trees) and then eastward along the road at my back. The Brandywine is marked by the trees on the left edge.
Looking west, the British marched down this road toward the camera. The Brandywine is across a field to the south (left) shown in the second shot - the tree line.
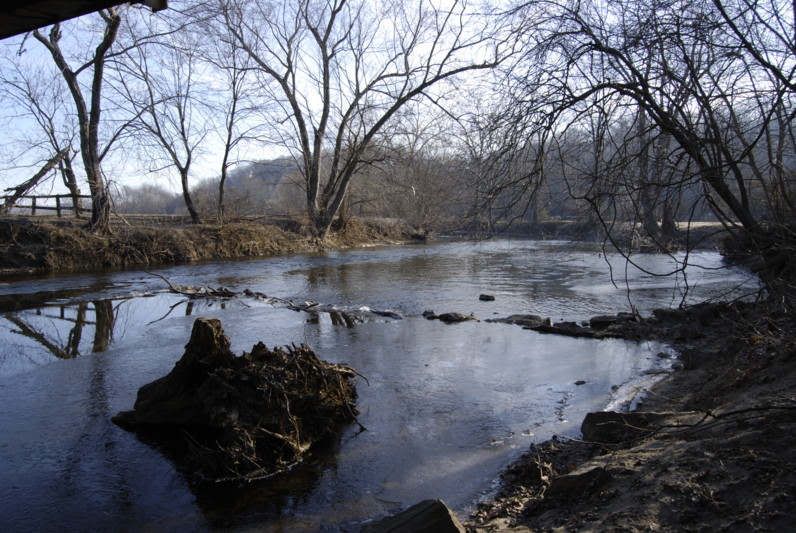
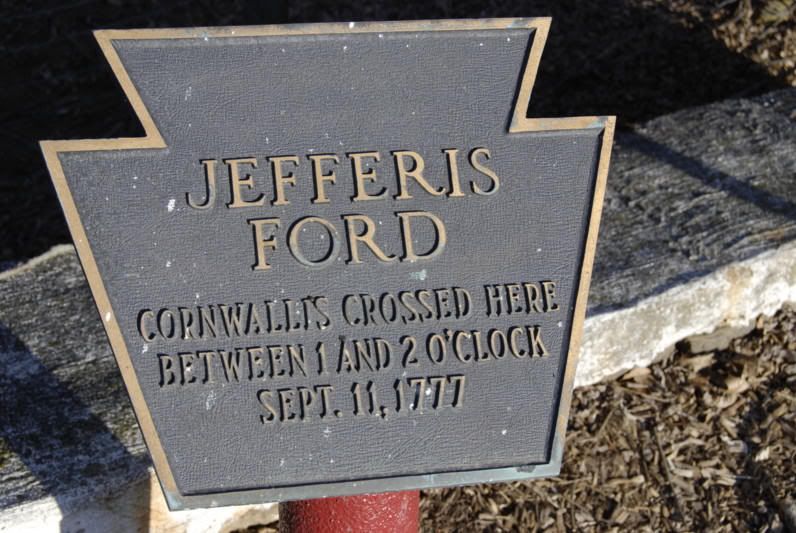
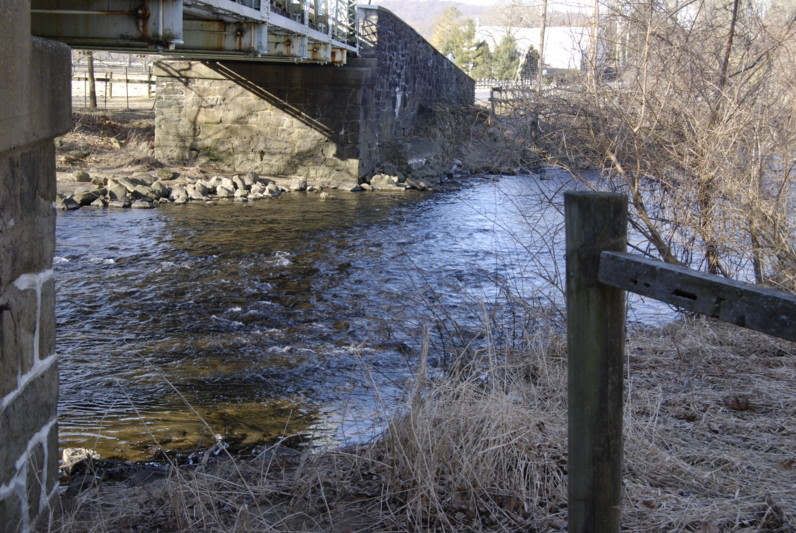
Location 4: Jefferis Ford
Howe and his men crossed the east branch of the Brandywine Creek at Jefferis Ford. Today there is a one lane box girder bridge at the ford. This simple plaque at the bridge acknowledges the event.
The ford and a view of the Brandywine north of the ford:
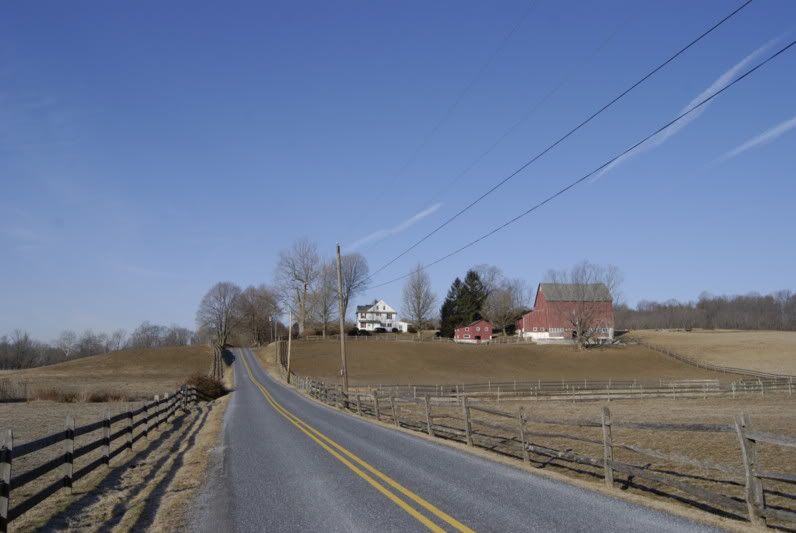
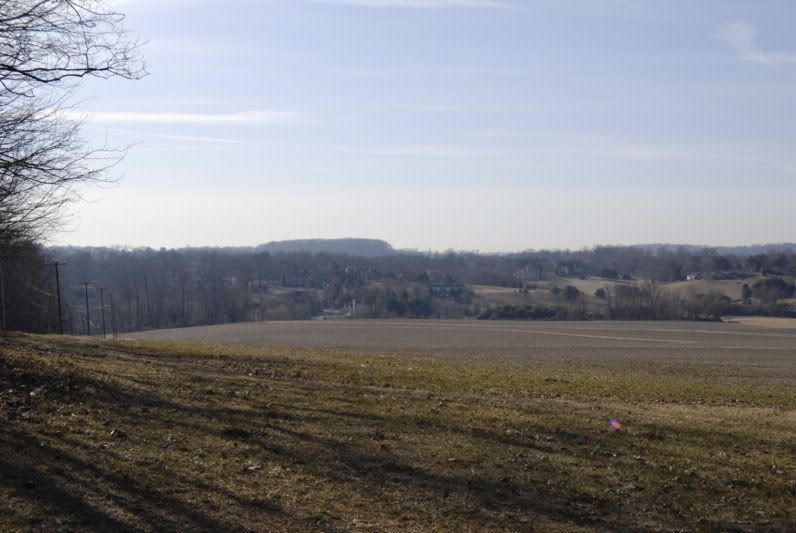
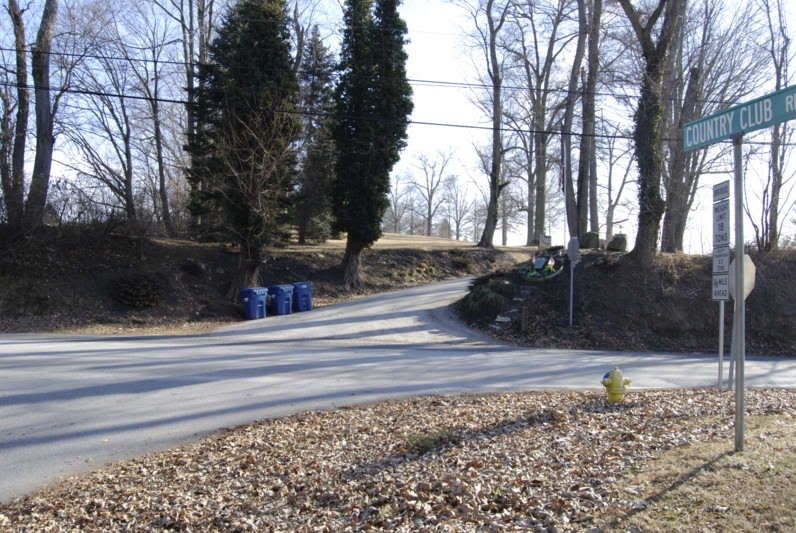
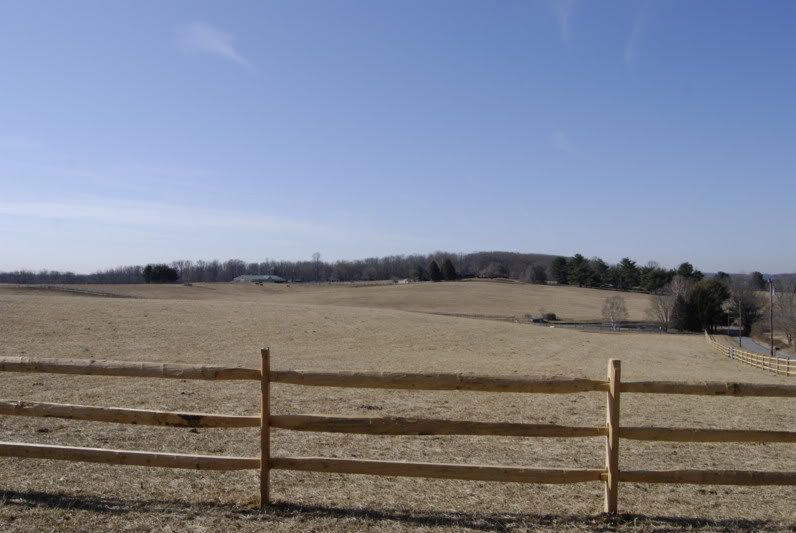
Location 5: Osborne Hill
The British formed up on Osborne hill and marched south along the Birmingham road towards the Americans on the far ridge. The telephone poles on the left edge mark the Birmingham road. The Brandywine River is about a mile and a half (less than 3km) to the west (right).
A small historical marker (across street from yellow fire hydrant) reads "Osborne's Hill. From this ridge General Howe directed the movements of the British Army at the Battle of Brandywine. September 11, 1777" This is a far cry from the magnificant monuments at Gettysburg.
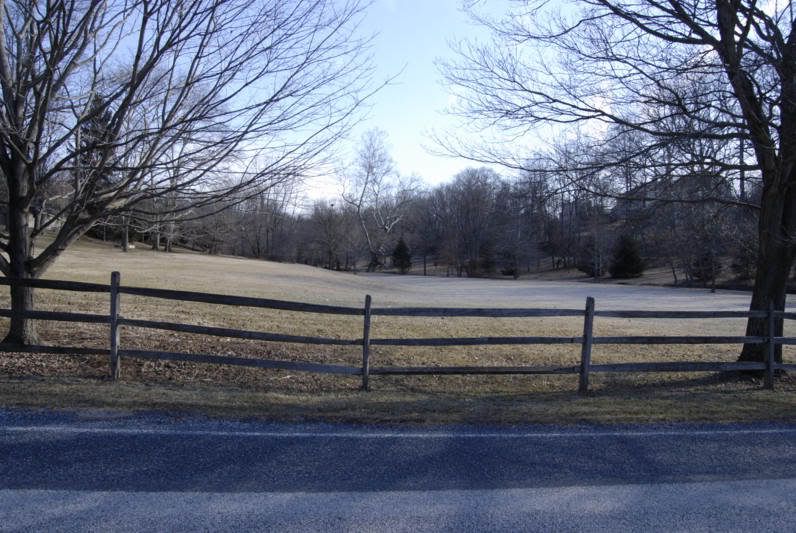
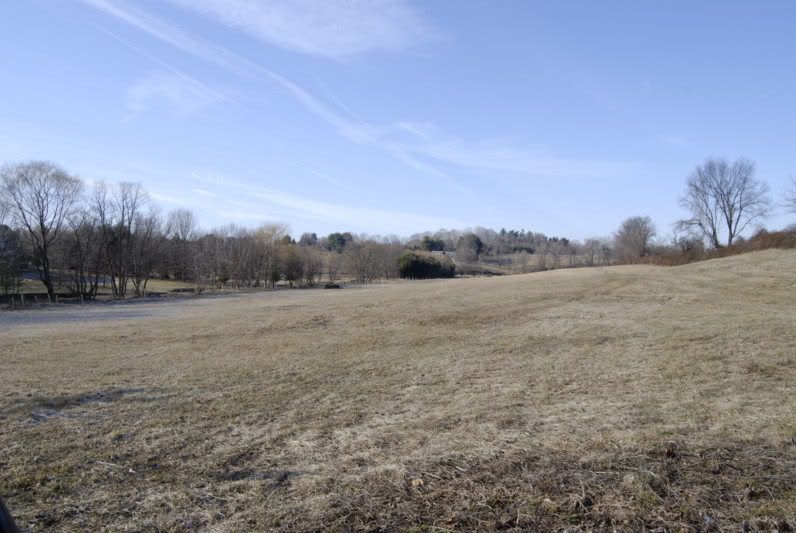
Location 6: Radley Run
Down the Birmingham road and into the valley between the ridges lies the small creek Radley Run. Skirmishers clashed here in the fields of the Daniel Davis farm.
Looking east of the Birmingham road:
Looking west towards the Brandywine (unseen):
Looking south and up the ridge where the American right wing under Sullivan was forming up:
I am going to continue this tour in another post so I don't lose what I've already written. To be continued...
Vancouver, BC, Canada, North America, Terra, Sol, Milky Way, Local Cluster, Universe
Posts
3,700
Re: Brandywine Battlefield Photo Tour
You would rather see an ineffectual one-sided battle that would have no effect in the war for what?
Spoiler Alert, click show to read:
WELCOME TO AVSM
Cool store, bro! I want some ham. No ham, pepsi.
They make deli slices of frozen pepsi now? Awesome! You also need to purchase a small freezer for storage of your pepsi. It runs on batteries. You'll need a few.
Uhh, I guess I won't have pepsi then. Do you have change for a twenty? You can sift through the penny jar ALL WILL BE CONTINUED
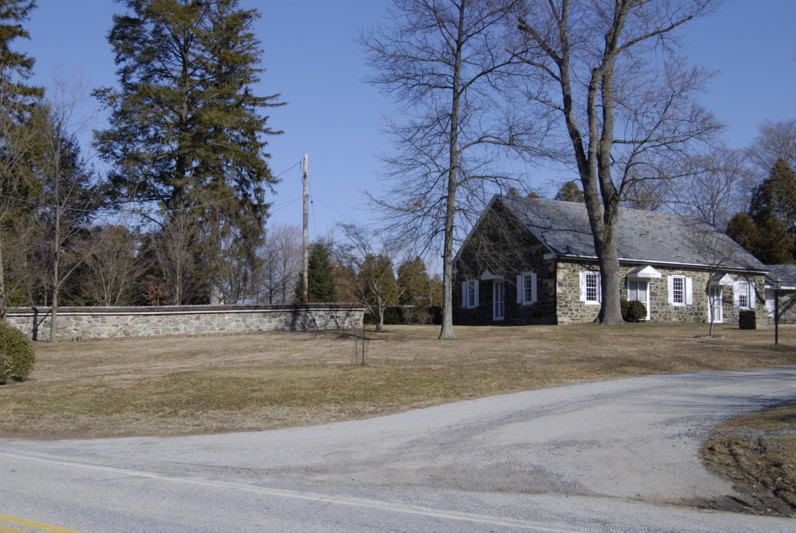
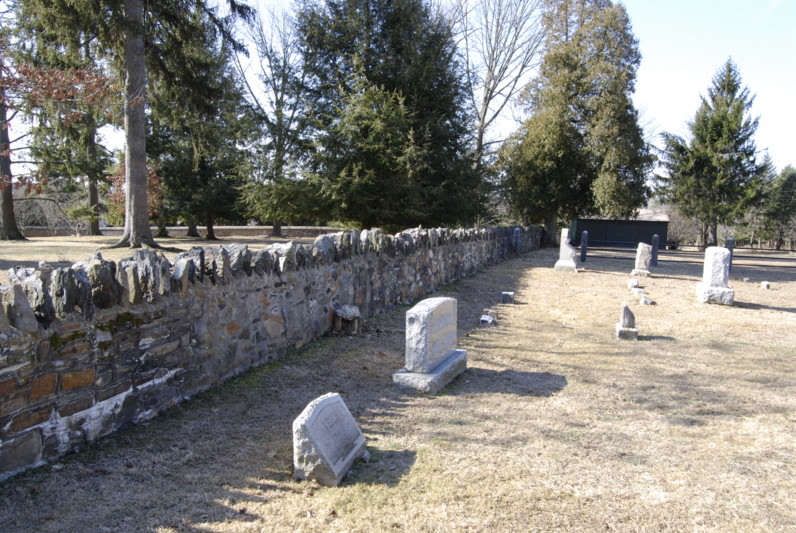
The Quaker Birmingham Meeting House, which is still active:
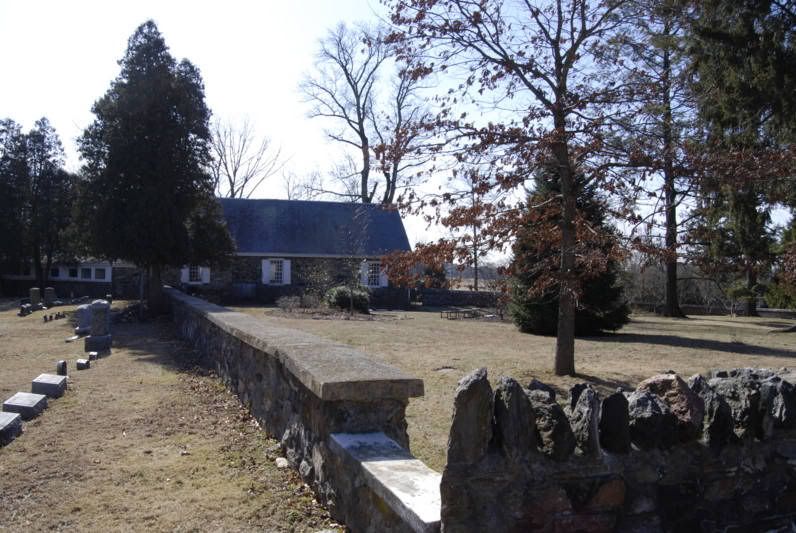
The building was used as a hospital by both sides during and after the battle. The following pictures are of the north side of the building that saw the fighting. The stone wall was used by Stirling's Americans for protection during the fighting.
Looking west along the stone wall, the British were attacking from right to left.
The British definitely had to attack up a slope toward the meeting house (which is behind the camera). Unfortunately the camera does not capture the slope that is so apparent to the eye:
One thing that this part of the tour showed me clearly is that the meeting house in the ETW demo should be on the hilltop that lies just to its west, not at the base of it.
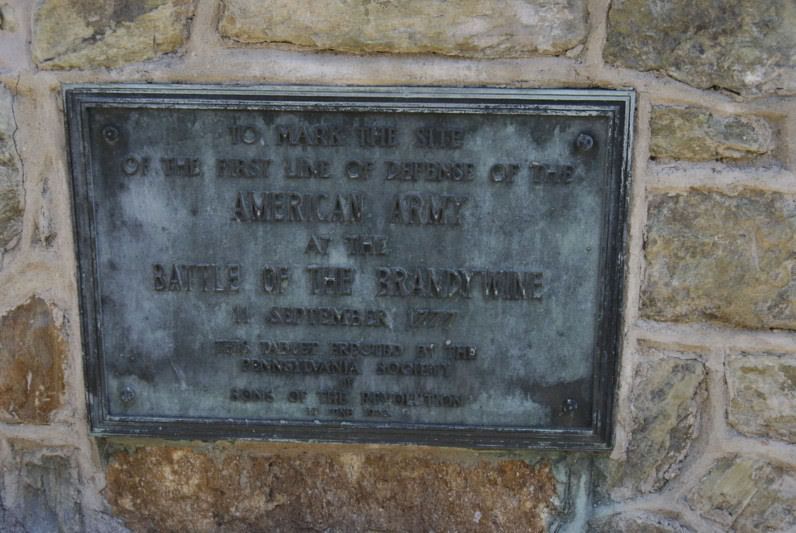
An unremarkable plaque on the stone wall reads "To mark the site of the first line of defense of the American Army at the Battle of the Brandywine. 11 September 1777".
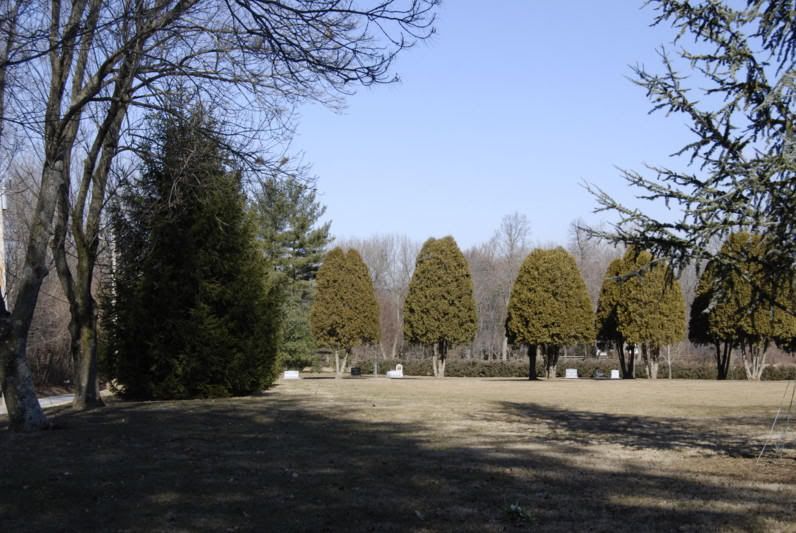
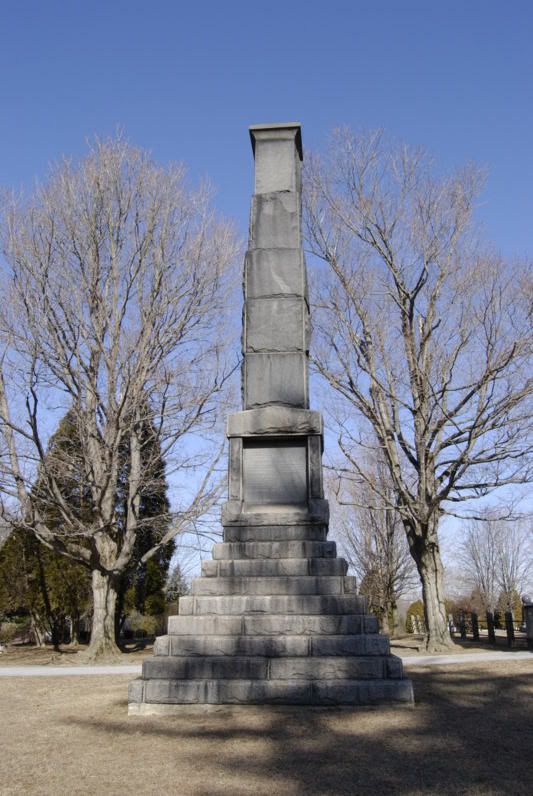
The largest monument on the battlefield is dedicated to Lafayette and Pulaski. It is in the graveyard next to Birmingham Meeting House:
Somewhere on the grounds of the graveyard or the meeting house was a marker for a combined British/American grave but I was unable to locate it.
Looking west across Birmingham road from the meeting house. The Brandywine River runs just this side of the distant hills.
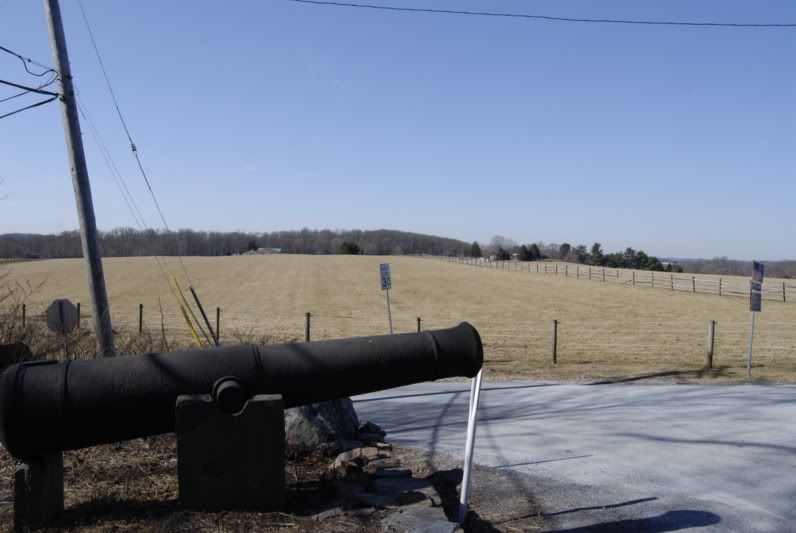
Location 8: Wylie Road
A half a mile (1 km) south on Birmingham road, the retreating Americans formed a second line of defense. The fighting was intense here as was the American cannon fire. The British 64th Foot lost all their officers and 2/3 of their men killed or wounded. It was at this point that Washington realized his mistake and rushed Greene north from Chadds Ford.
A badly rusted Civil War era canon marks this spot along the Birmingham road. A view looking north from where the British were attacking:
Looking west towards the Brandywine (down behind house across the field and in front of the distant hill line):
If I understand the battle accounts correctly, back at the time of the battle, the view in the above shot would have been covered in part by the thick Wistar's Woods (only a small portion remains today). The British Grenadiers and Guards entered the thick Wistar's Woods with the intent to attack Sullivan's second line of defense here. Instead, they got lost for two hours and come out of Wistar's Woods farther south and into the flank of the Americans defending against Knyphausen's assault at Chadds Ford.
Between location 8 and 9 Birmingham road cut a "miniature pass" due to heavy use. Here the banks on either side of the road range from 4-8 feet high. There was no place to safely stop here and take pictures. Heavy fighting also took place here. One unusual sight was a slender 10 foot tall monument to Lafayette in the front yard of a house.
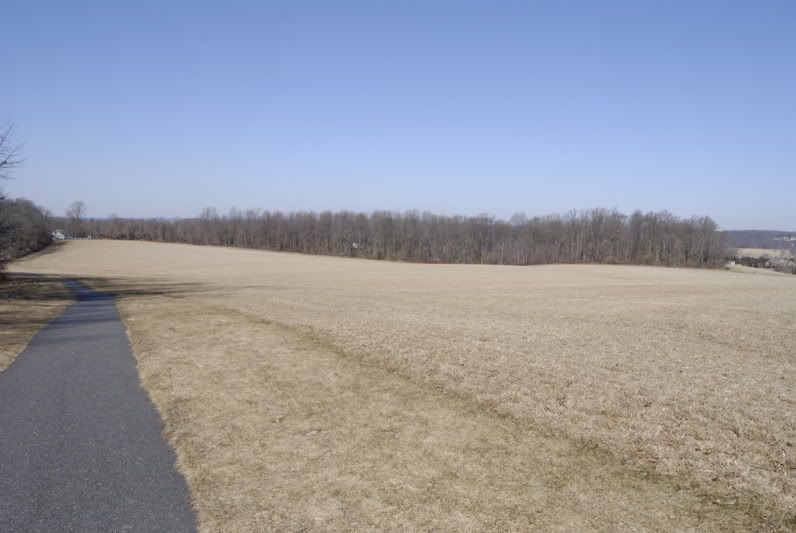
Location 9: Sandy Hill
In this field Lafayette formed the third line of defense for the Americans. He was wounded in the thigh during the fighting. About a quarter of a mile (1/2 km) beyond the house at the far end of the field on the left side (to the north west) is the general direction of where the Wylie road second line of defense was. The miniature pass I mentioned is also to the left of that house in the trees.
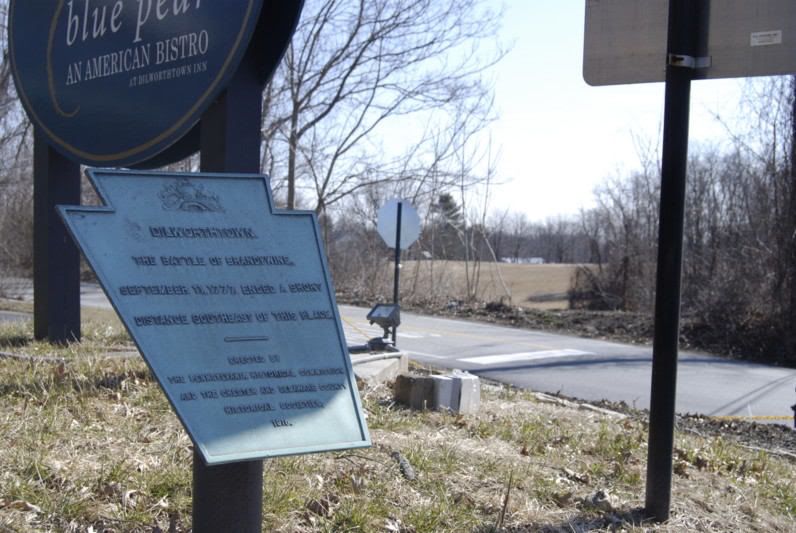
Location 10: Dilworth Crossroads
The final part of the battle was a rearguard action by Pulaski's cavalry at nightfall. Again, a simple, unremarkable plaque marks the site. It reads "Dilworthtown. The Battle of Brandywine, September 11, 1777, ended a short distance southeast of this place." This shot of the plaque is looking southeast to a field where, perhaps, Pulaski fought.
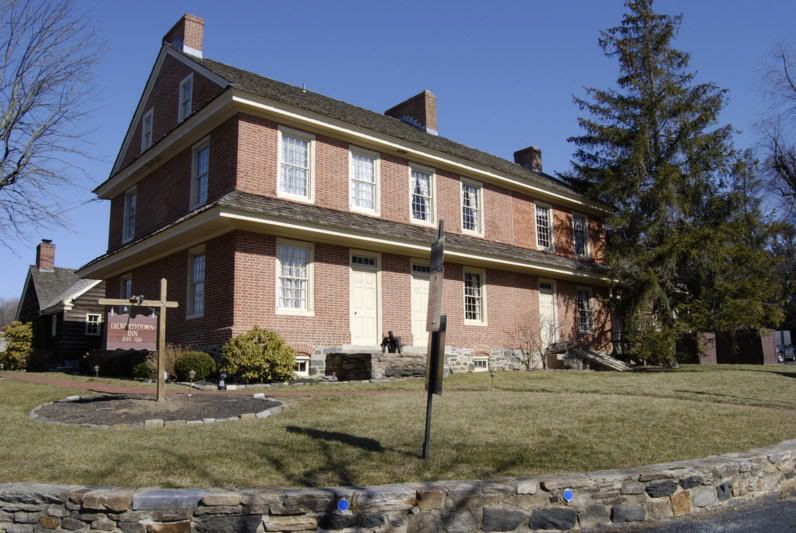
Here at the crossroads are two structures that stood at the time of the battle. First is the Dilworth Inn.
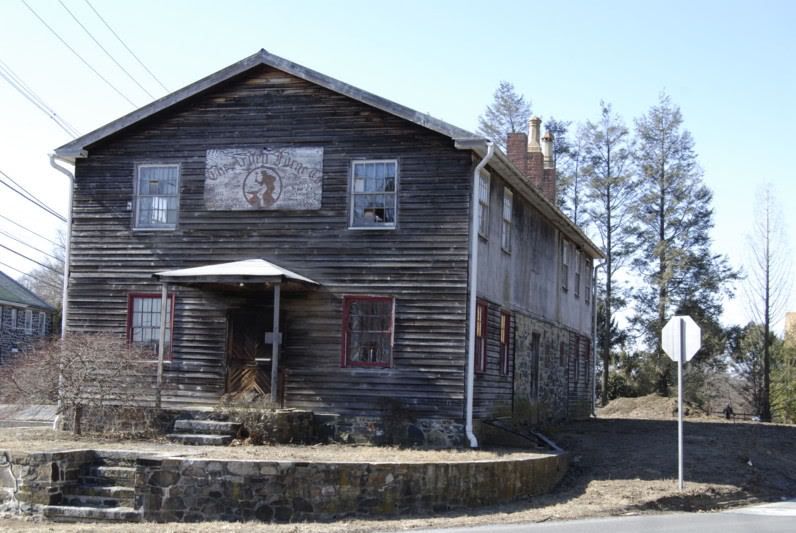
The second is the Arden Forge that made arms during both the French and Indian War and the Revolution.
I'm going to stop here for the night. The last segment will mostly examine the terrain along the Brandywine River itself from Chadds Ford upstream to the fork.
The stone wall was used by Stirling's Americans for protection during the fighting.
Thank God for free-roaming lunatics such as yourself, Sir. This sort of detailed, expert commentary on a single battle has devout TW followers like me foaming at the mouth.
Great job, Gregoshi.
Maybe other members who live close to Napoleonic battlefields could do the same. Apart from the usual suspects and assorted history buffs, there must be potential ETW modders who will be very, very interested in such details.
The bloody trouble is we are only alive when we’re half dead trying to get a paragraph right. - Paul Scott
Great stuff Greg. It's eyeopening to see the battlefield for real. Thanks for that
There are times I wish they’d just ban everything- baccy and beer, burgers and bangers, and all the rest- once and for all. Instead, they creep forward one apparently tiny step at a time. It’s like being executed with a bacon slicer.
“Politics is the art of looking for trouble, finding it whether it exists or not, diagnosing it incorrectly, and applying the wrong remedy.”
To learn who rules over you, simply find out who you are not allowed to criticise.
"The purpose of a university education for Left / Liberals is to attain all the politically correct attitudes towards minorties, and the financial means to live as far away from them as possible."
Too bad about the development though. I live near Shiloh and it is hallowed ground, protected by the state and fierce preservation groups poised to drive away any roving WalMart location scouts.


 Reply With Quote


 - Proud Horseman of the Presence


Bookmarks