This part mostly features terrain along the Brandywine River with a brief diversion towards the British starting position west on the Nottingham Road towards Kennett Square.
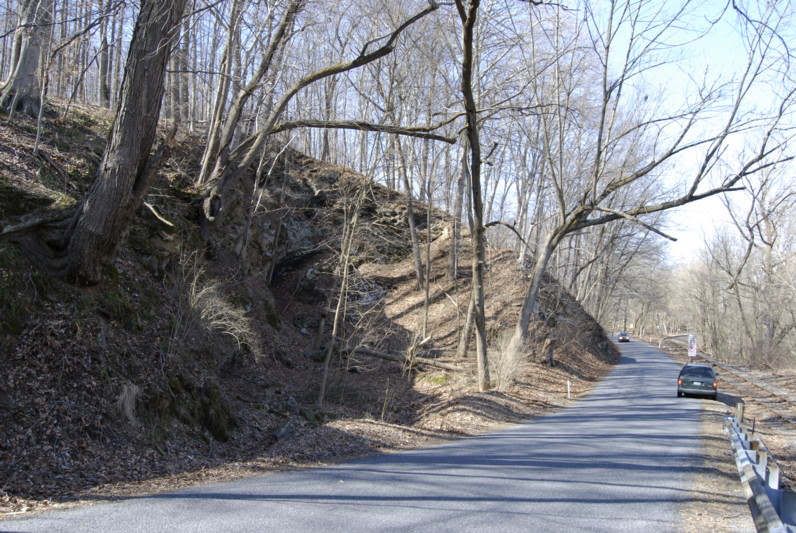
Location 11: Chadds Ford
Chadds Ford is where Washington expected the main British attack to be. Instead, the Hessian Knyphausen was under orders to "amuse the Americans" while Howe executed his flanking movement. The photos here show the river and ford area. Unfortunately I did not think to turn the camera away from the river to show the surrounding area. It probably wouldn't have mattered much as there are a lot of trees in area.
The Brandywine River about 100 yards/meters south of the ford, taken from the parking lot of the Wyeth Brandywine River Museum looking west towards the British side of the river:
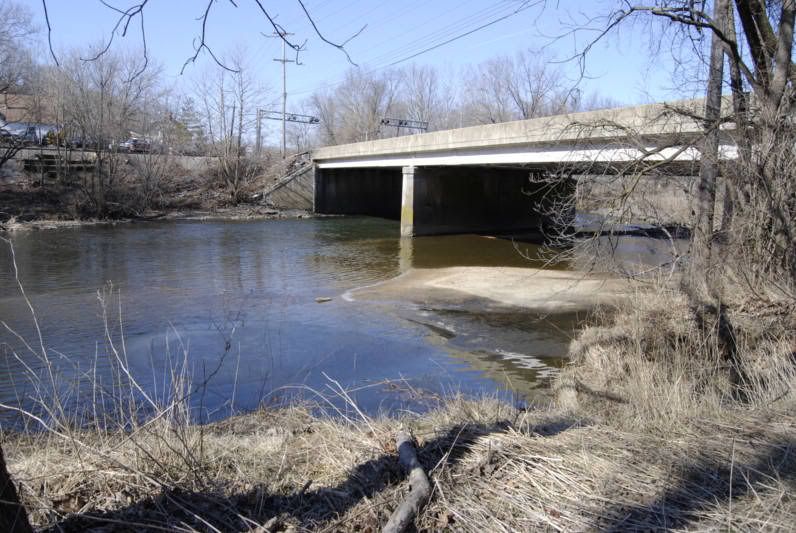
Where Chadds Ford once was, is now a 4 lane bridge of US Route 1 (Baltimore Pike):
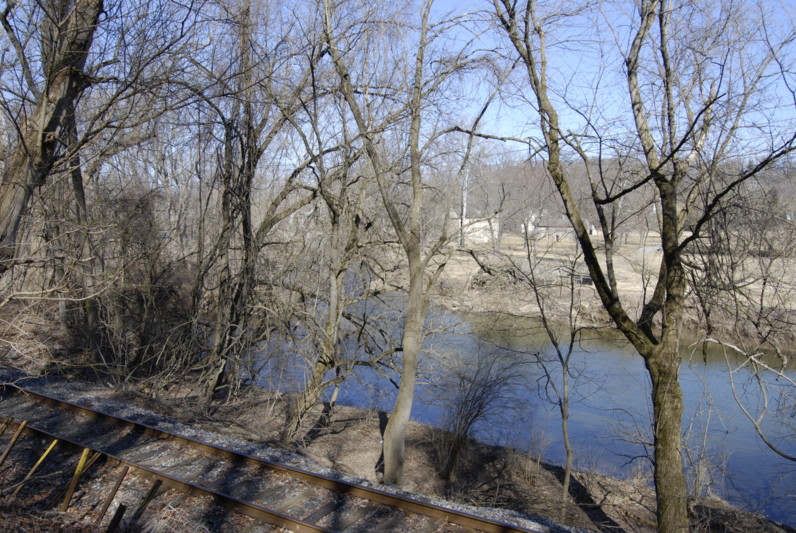
Looking south (downstream) from under the the bridge (Americans left, British right):
Note that the land south of the ford appears rather flat for at least a short distance downstream though you can see a hill line in the distance.
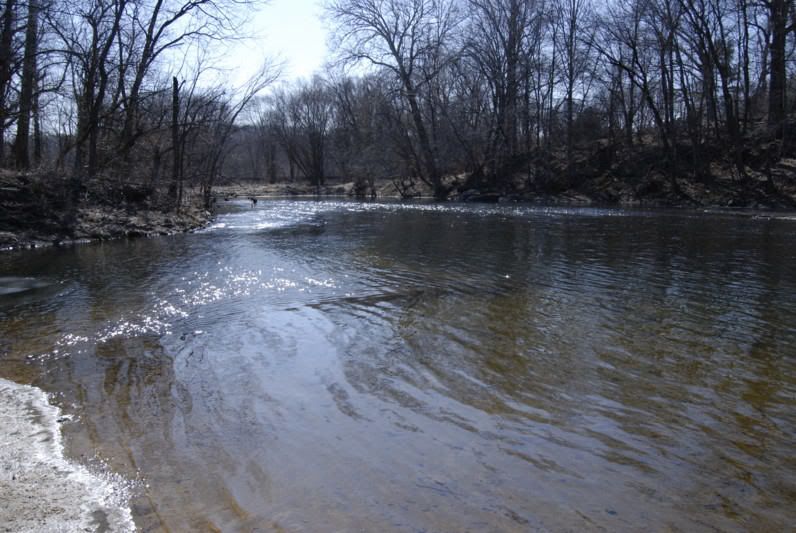
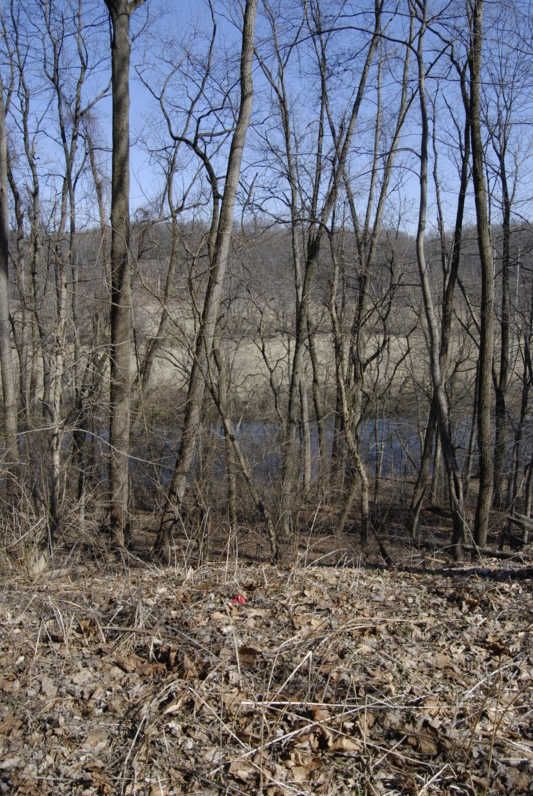
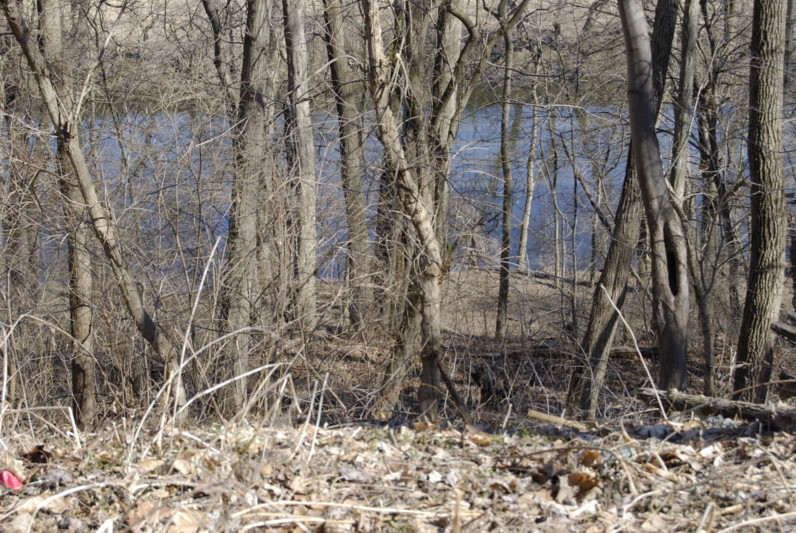
This next short is a look at the terrain along the east bank (American side) from the north side of the bridge/ford - flat, treed and appears swampy.
The west bank (British side) north of the ford has hills almost right to the river bank. Today, Chadds Ford Elementary School sits on a hill overlooking the river where British soldiers and/or cannons were probably positioned. One wonders if the children are even taught about the history of the grounds on which they learn.
This view is looking east from the Nottingham Road (US Route 1) about a mile west of Chadds Ford. The building in the trees is the Brandywine River Museum on the east bank where I took the first picture above.
On the ETW demo map, this picture is eerily similar to the view of Chadds Ford from the British starting position (slight dog-leg left). Well done CA!
Location 13: Kennett Meeting House
Kennett Meetiing House is a Quaker building where some of the earliest action took place around 10am. During this action, the Quakers were holding a mid-week meeting. A worshipping Quaker later wrote: "While there was much noise and confusion without, all was quiet and peaceful within." Gotta love it. Here is a picture of the Kennett Meeting House (Est 1710):
Location 14: Brintons Ford
Back to the river, we come to Brinton's Ford. Here, a high, steep hill comes right up to the west bank of the river. Knyphausen sent four regiments across the ford here when he decide to stop "amusing" the Americans and attack. Though there is a road here, it is halfway up the hillside and it was not apparent exactly how the troops would have gotten from the road down to the river. Railroad track laid between the road and the river may have helped obscure any road/trail down to the ford.
First shot here is looking north (upstream) at the road running along the hillside at Brintons ford. A hollowed out cliff cuts into the hillside, but you can get a feel for the slope of the hill the goes down to the river:
The next shot is looking across the Brandwine from the road. Note the flat plain on the east side of the river before you get to the hills beyond. Another aspect that the ETW demo map shows well.
Here is looking down the hillside to the river. Unfortunately, the camera does not take in the scene as well as your eyes can.
Today, this road is known as Brinton's Bridge Road. It runs on both sides of the river, but the two halves are not connected on the map. I was quite surprised to see the remains of a destroyed bridge on both sides of the river. It looked like an old bridge but built sometime after the battle. In this view of Brinton's ford, the bridge structure is visible on the far bank, but, again, though all the branches, the camera does not distinguish this as well as the eye does.
ETW observation: this area seems to correlate to the east-west running wooded ridge on the west bank just north of Chadds Ford on the demo map. At our next stop on the tour, we will see what I think is the "valley" just north of this ridge that leads to the river bank.
Location 15: Pocopson Creek
Now we move about one mile (2 km) north along the river to Pocopson Creek. Here the hills along the western bank retreat far back from the river to form a small valley. This first view looks west with the river about 100 yards/meters behind the camera.
This second view is looking a little more to the north west to show the gently rolling hills that form the north "wall" of this valley. This hill runs to the north for quite a way but stays back away from the river roughly 100 yards/meters.
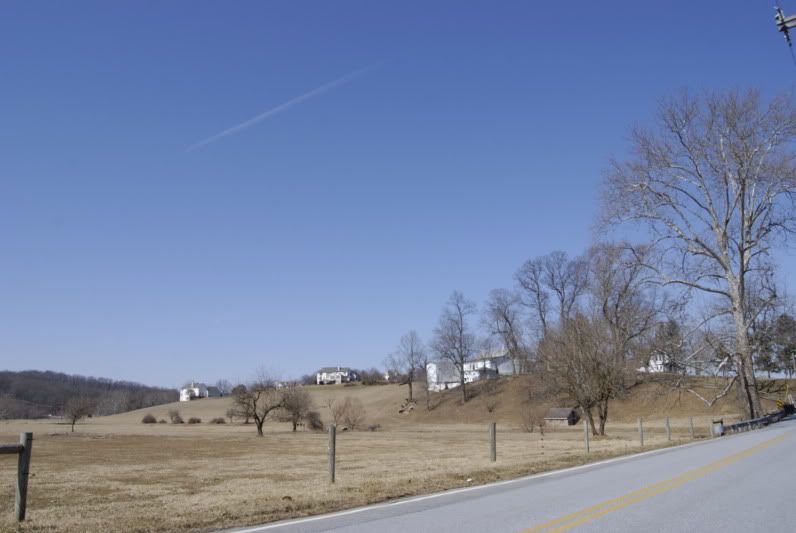
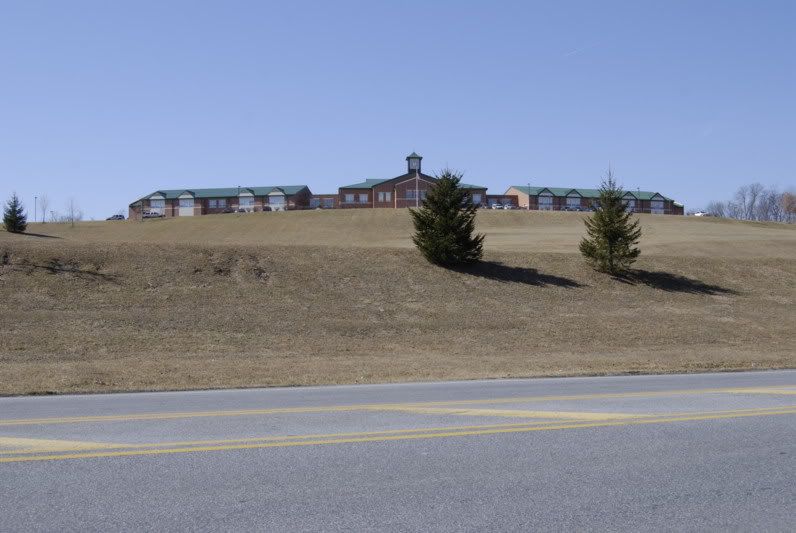
Location 16: Jone's(?) Ford - Colonel Bland's Position
About 1/2 mile (1 km) north of Pocopson Creek, Colonel Bland's dragoons pushed across the Brandywine at Jone's(?) ford. With reports of the British marching north, Washington ordered Bland to find the British and confirm this movement. Washington received conflicting reports all day which held the bulk of his forces at Chadds Ford for most of the day until it was too late.
This shot looking west at an imposing hill topped by an elementary school. I suspect it was wooded back in the day. Again, this hill sits back from the Brandywine River about 100 yards/meters.
A mile or so north of here, the hills once again come up to the banks of the river.
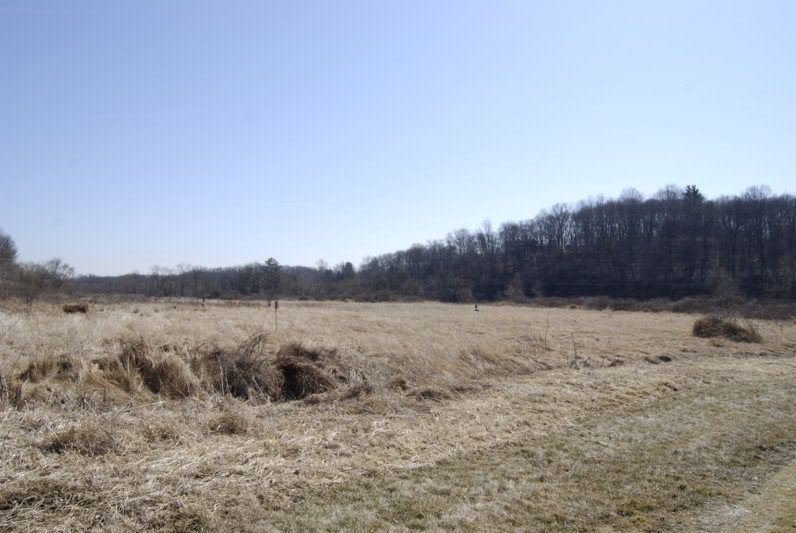
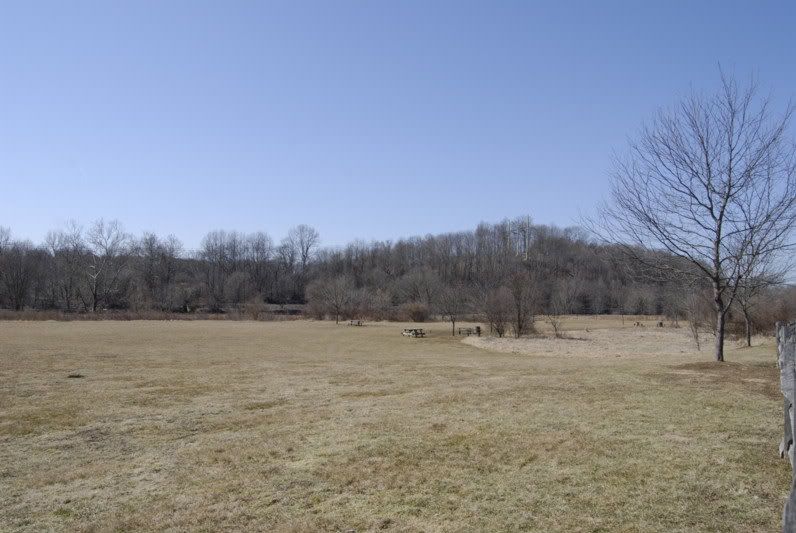
Location 17: Below the Fork in the Brandywine
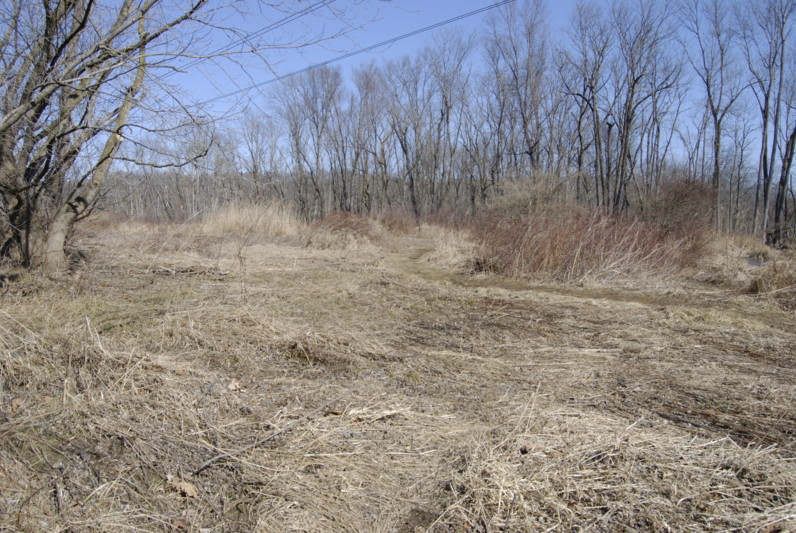
The last stop on the battlefield tour is an area along the east bank of the river a little below the fork in the river. Again we see (smaller) hills coming up to the west bank. The east bank continues to be flat with hills standing far back from the river. Today this stretch from Wistar's Ford to the fork features several parks but the areas between the parks are swampy wetlands so I imagine the parks were dirt filled to make the land usable.
The first shot is looking roughly south (downstream) at the wetlands in the flats. The river runs beyond the wetlands along the treeline at the base of the hill.
This second shot looks northwest (upstream) towards the river showing converted park land and the woods/hills on the west bank.
This concludes my battlefield tour. I hope it was instructive to the reader.
Note: I tried to get some screenshots from the demo to correlate my pictures with analogous views from the game map, but my ancient computer could barely handle the demo, let alone any other program to do screen captures.
Truly amazing stuff Greg, really appreciate the pictures! Somehow it kinda brings the battle into focus to the actual area where it all took place, how its changed over the centuries, ect.
I'd like to commend you for this thread idea. Too often, we forget that these games are about real people in real places who sacrificed their lives in real wars. We should honor them, by using the media of interactive entertainment to study how they lived, fought, and died for what they believed in.
There, but for the grace of God, goes John Bradford
My aim, then, was to whip the rebels, to humble their pride, to follow them to their inmost recesses, and make them fear and dread us. Fear is the beginning of wisdom.
I am tired and sick of war. Its glory is all moonshine. It is only those who have neither fired a shot nor heard the shrieks and groans of the wounded who cry aloud for blood, for vengeance, for desolation.


 Posting Permissions


 Reply With Quote
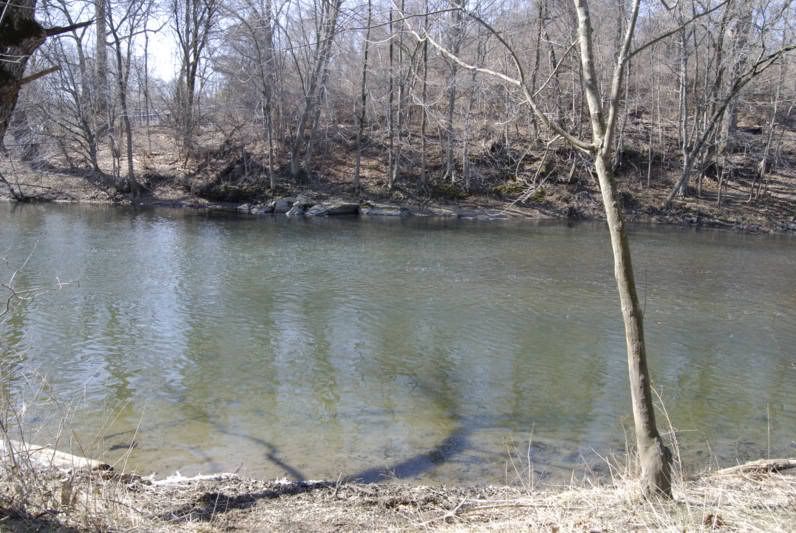


Bookmarks